|

Importing Gasket Geometries to Silhouette from Sketchup

We currently use Adobe Illustrator to design silicone gasket geometries for our microfluidic devices. Here is a quick way to do a similar thing from sketchup. The advantage of this procedure is that you can create a complete 3d model of your device and export different snapshots to the 3d printer for bulk fabrication and a different snapshot to the gasket cutting software (Silhouette) and have it all be consistent. Silhouette has an integrated trace feature that allows you to import JPG, PNG, or TIFF images, and turn the images into cuts. All we need is a decent representation of the gaskets from sketchup:

3d model of Device
3d model of Device

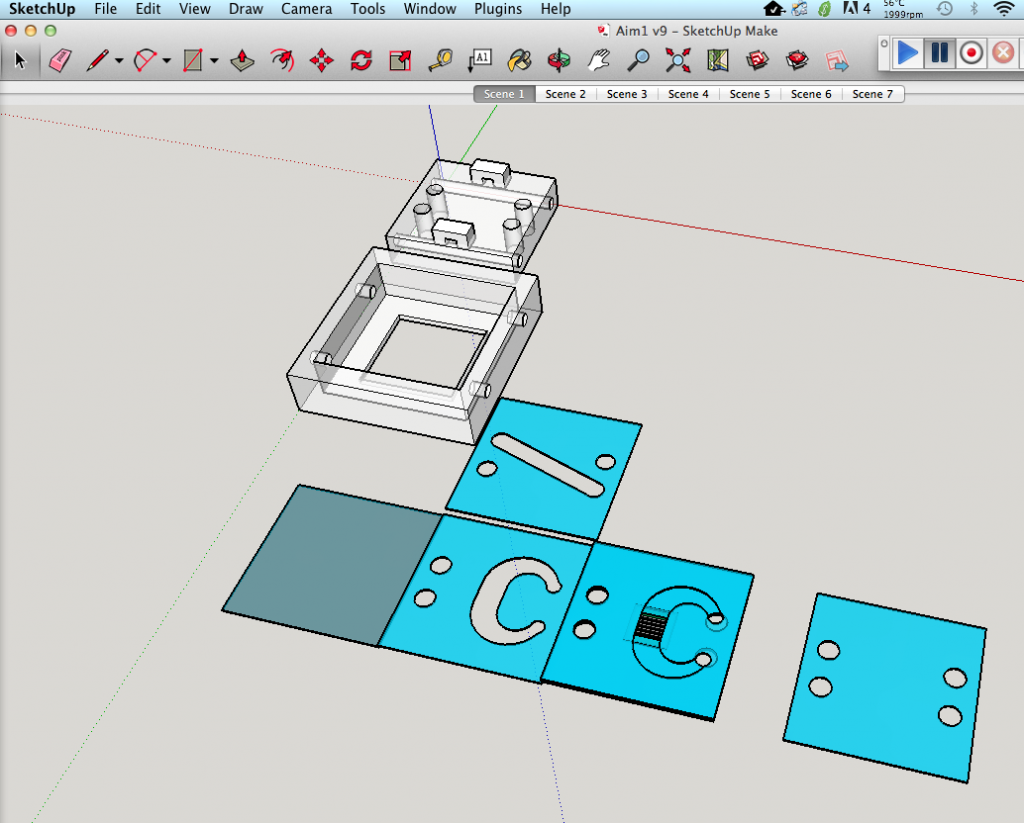
Sketchup has a way to export 2d graphics of your model, so we will be able to use the ‘same’ gaskets (approximated through trace) as drawn without going through another piece of software.

Removed non-gasket structures, and reorienting view.
Changed Color to Black and Centered Image. Cmd+1 on a Mac will get you to this view.

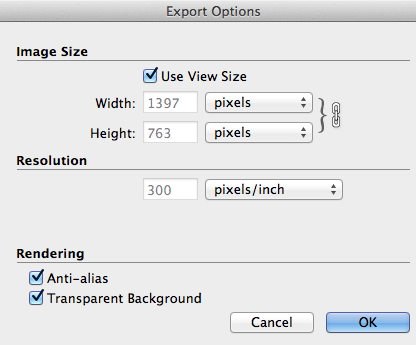
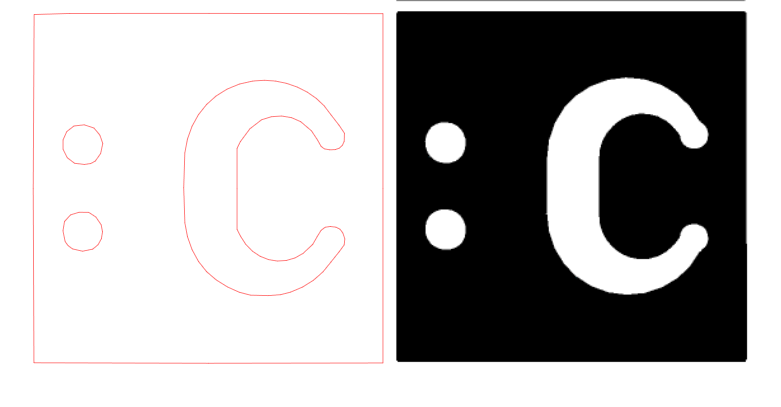
I changed the color of the gaskets to help the tracing software find edges without getting confused. Under the export options, we can choose the file format and the individual resolution of our images. Higher resolution images = higher image fidelity. Transparent backgrounds prevent the background area from being incorporated as part of the image later on (tracing error).

Export the viewing area as a .tiff

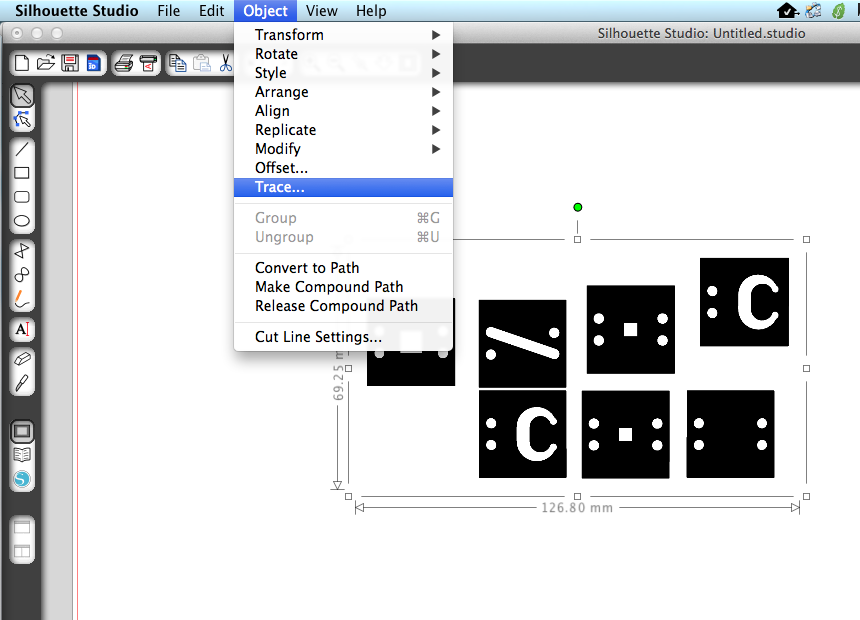
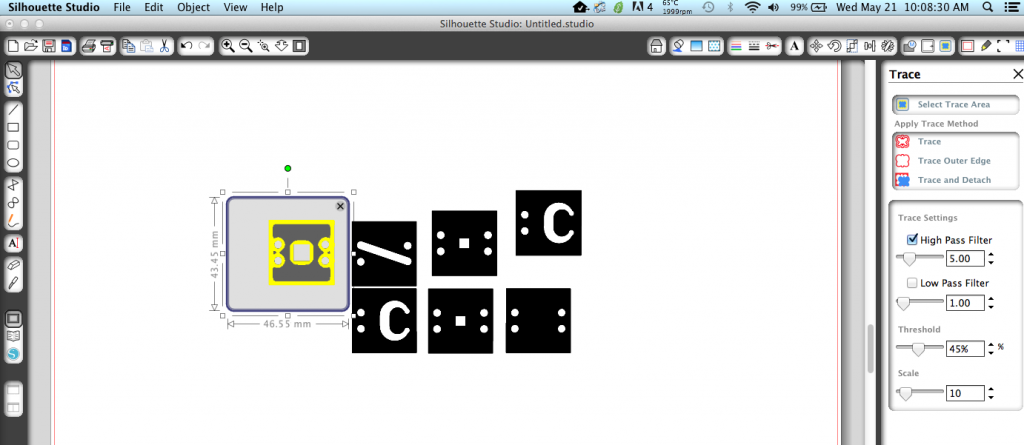
Now that we have an image, we can import the gaskets into the Silhouette software:

Drag image into silhouette. It's a lot bigger than what it was originally, but can be scaled easily (you will know your dimensions from sketchup)
Drag image into silhouette. It’s a lot bigger than what it was originally, but can be scaled easily (you will know your dimensions from sketchup)
Scaled image to more reasonable size
Trace function
Trace function
Highlight area you wish to trace


Turn off Highpass filter, adjust thresholding, and scale. Make a contiguous surface (all yellow).
Move image out of the way, and adjust the newly traced object size to your original dimensions.
Move the image out of the way, and adjust the newly traced object size to your original dimensions.
Not all traces are equal. Adjust scale and thresholding to create the best representation of your gasket. Left is 50% threshold, Right is 100% threshold.
Circles are tough, but larger objects are not so bad. You could also redraw your own circles on top if they are not to your satisfaction.

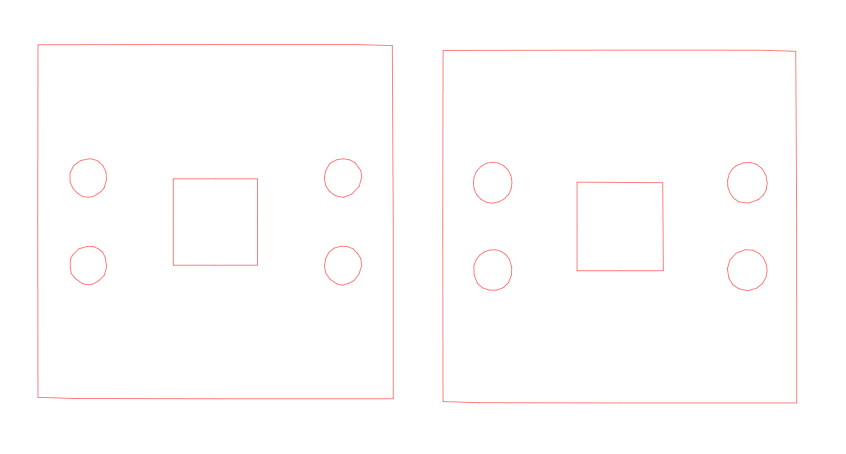
With this capability, I was able to create a dual channel device from a sketchup model:


Assembled Device
Assembled Device
Colored Channels with Food Coloring. Red = bottom channel, Green = top channel.
Chip is undamaged after removing PLA housing.

Similar Posts