BBB Device V2.3
I’ve made some modifications to my V2 design such that it allows total vertical access, among other things:

This design utilizes embedded electrodes and filter within gasket layers to create a tight fluidic seal for each channel. Here, the slot is pointed upward, so the endothelials will be on the bottom side and the astrocytes/pericytes will be on the top side. The basal channel gasket extends beyond the boundaries of the chip to allow for tunneling through the electrode, apical gasket, and pnc-Si filter layers.
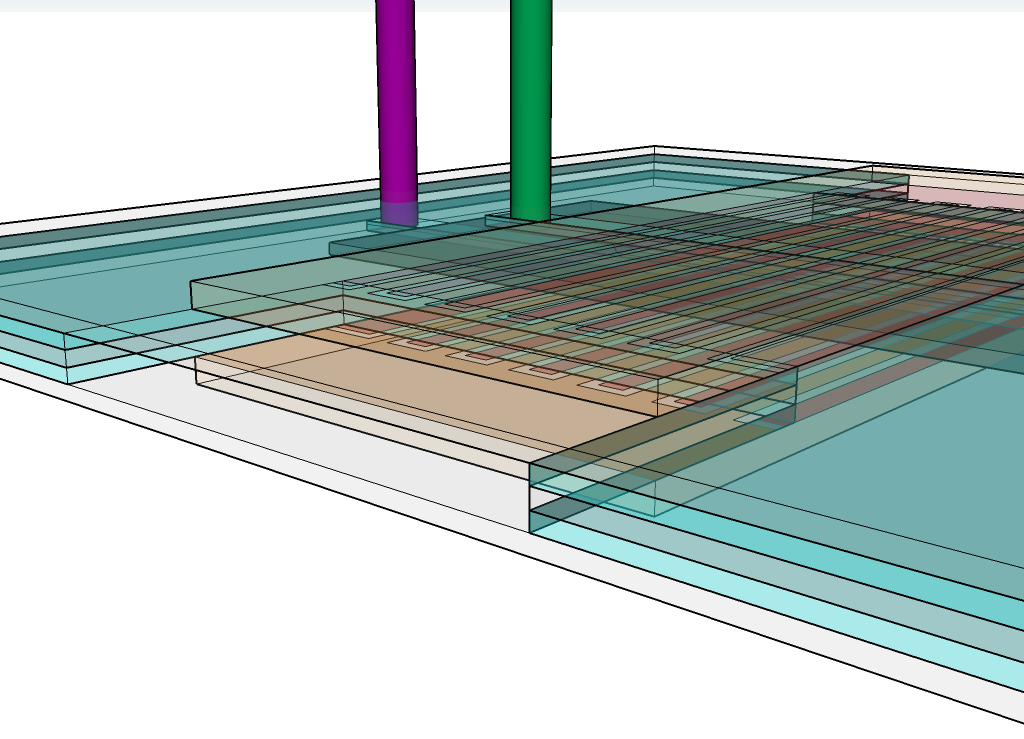
The mousebite configuration allows for open access to the 4 electrode ports (top + bottom)*(right + left). The total cavern height is the height of 2 gaskets + the height of the simpore filter, about 0.9mm in this configuration. The minimum working distance in this case is the thickness of the electrode + thickness of 1 gasket, about 0.6mm in this example.

The silicone gaskets can be cut out using the recently purchased Silhouette Cameo (in the basement of Goergen). I am in the very early stages of trying to bond all the layers together.
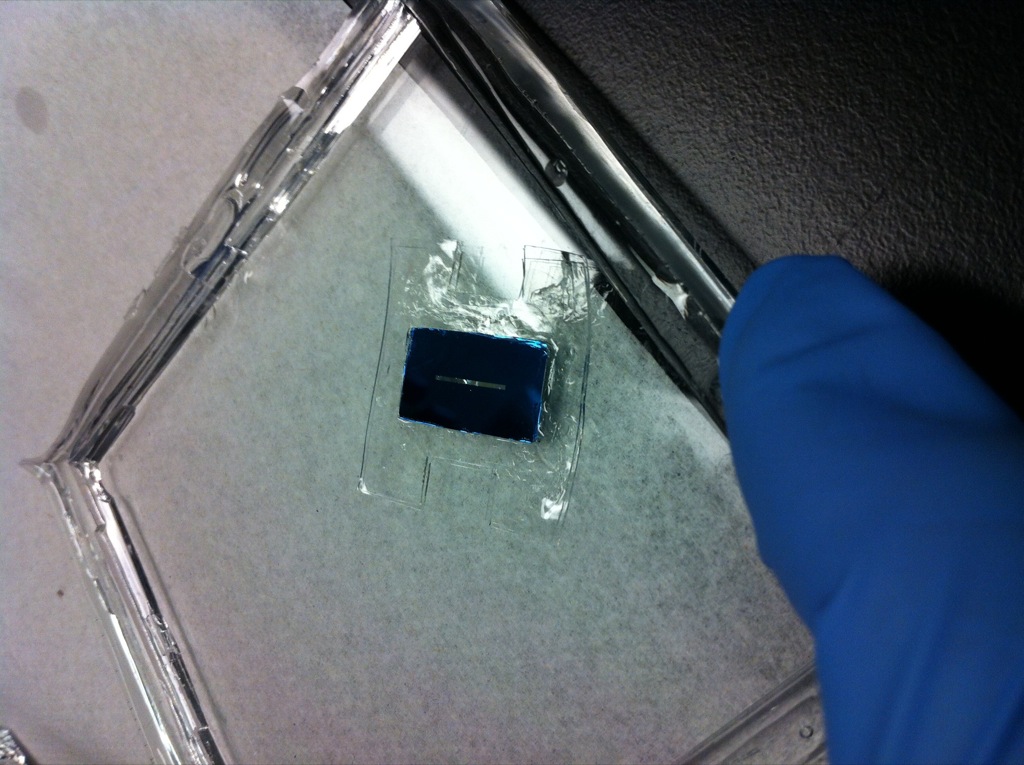
I attempted mortar bonding here with a pipette tip, spreading mortar around the corners. I cured at 150 C for 10 minutes, which caused the membrane to wrinkle up. Next time, I will use a slower cure time. The bond appears to be very solid around the bottom left corner, which means that the process can work effectively. The trick to embedding the individual elements is to bond the element to a lower gasket en face and then wrap the interstitial gasket around the element, using PDMS to make a seal around the edges. Embedding the layers in the interstitial gaskets first is difficult to process carefully enough. When the entire device is completed, a PDMS block will have to be bonded on top to create some structural support for the capillary tubes as ~1.5mm of thickness will not be enough.
Next week I am getting trained on many tools in the U of R cleanroom, so I hope to come up with my own sputtered + patterned ITO films for the electrode integration.
Update (7/28/12):
I tried to fabricate the stack again, with much better results:
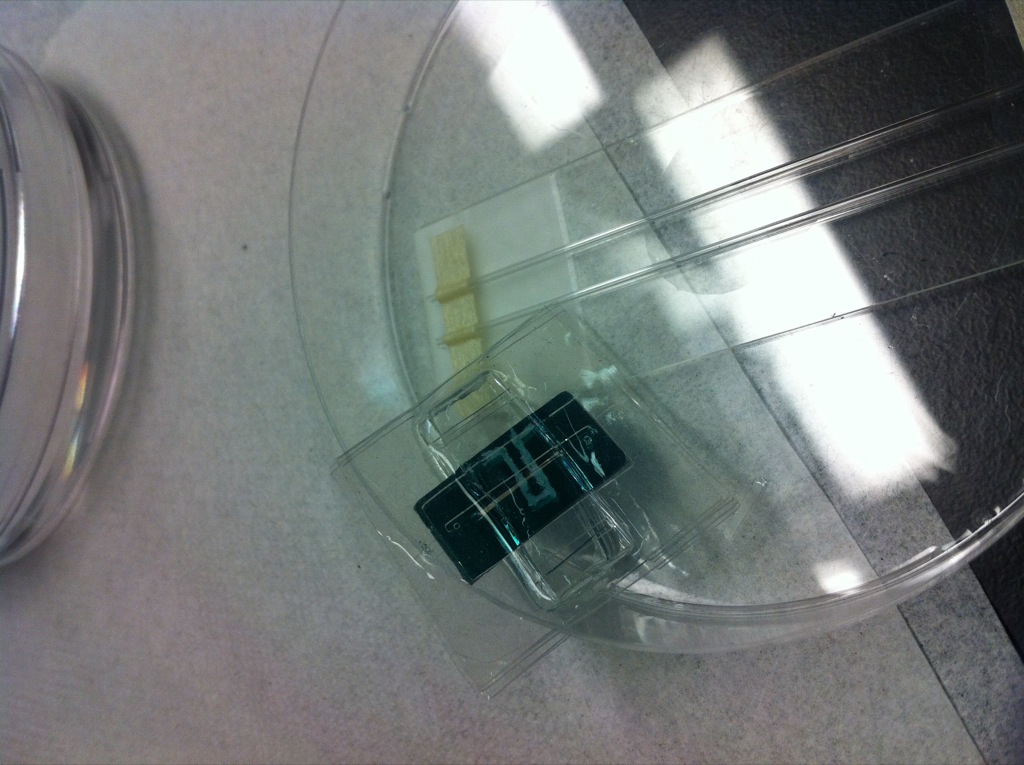
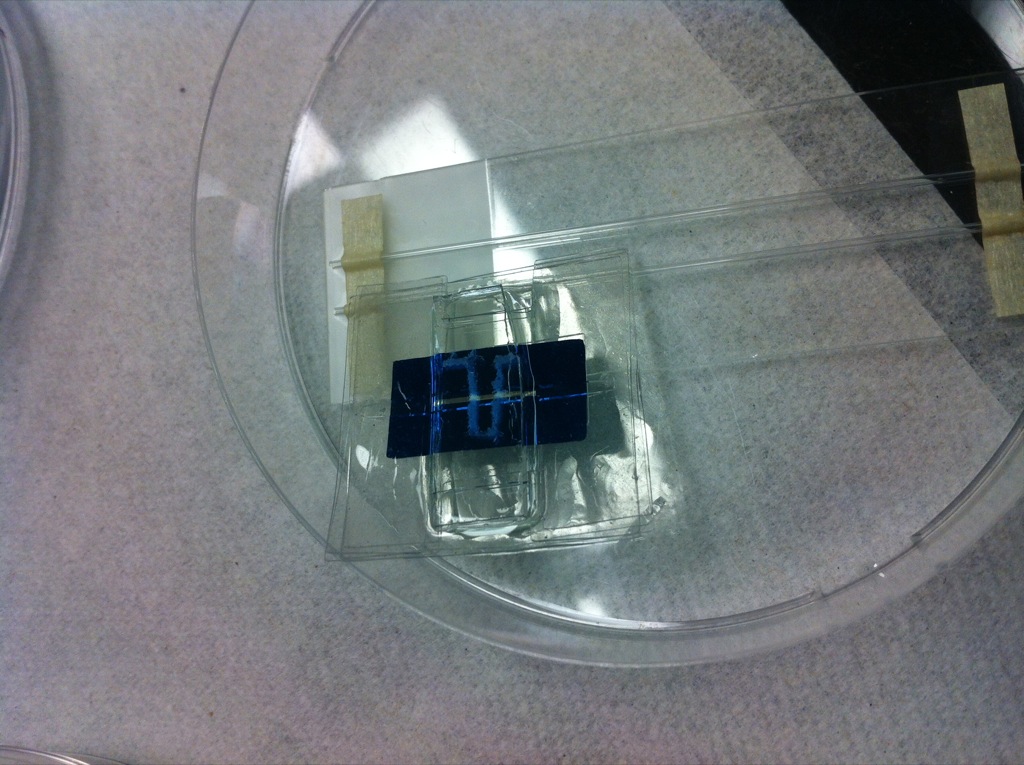
To create these stacks, I fabricated jigs out of index cards, using the same framework as Henry’s Jigs with posts that are 35mm away, 2mm diameter posts.
I then used UV ozone bonding to create the stack:
1. Bond Filter to Bottom Gasket, Cure
***2. Bond Interstitial Filter Gasket to Filter/Bottom Gasket, cure.***
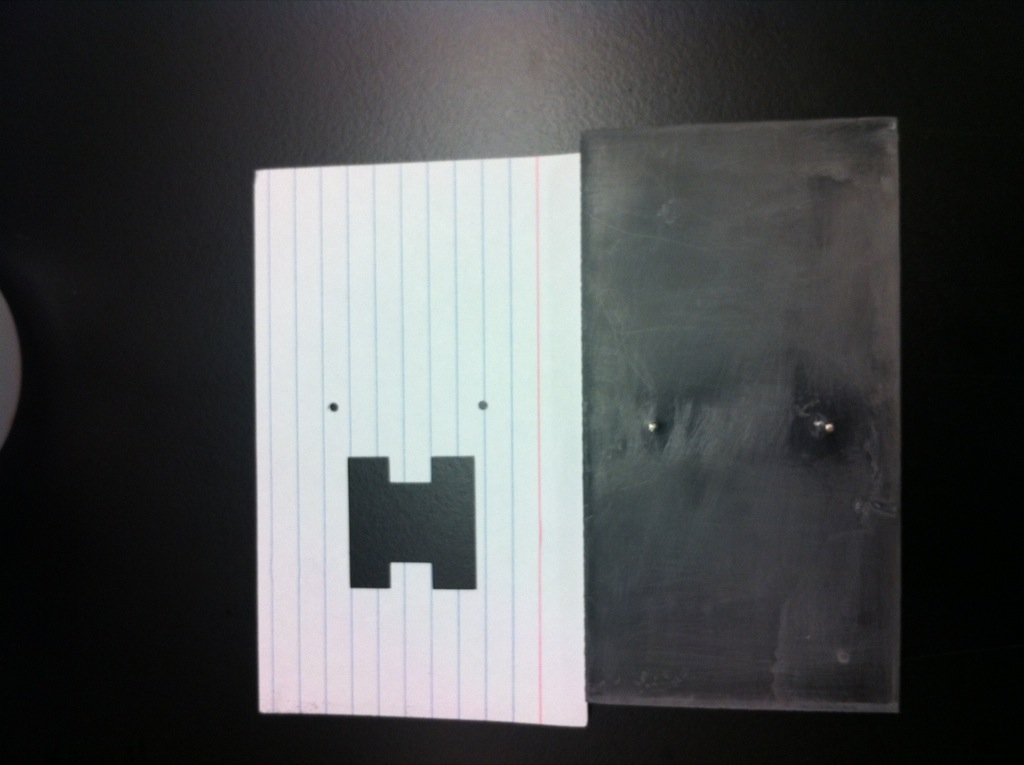
3. Embed Electrodes into Electrode gaskets with PDMS mortar Bonding. I had to remove a very thin pdms sheet that cured over the film.
4. Bond Top Gasket to Top Electrode, Cure
5. Bond Bottom Gasket/Filter/Filter Gasket to Bottom Electrode, Cure
6. Bond 2 Remaining halves together. The joined layers were the Filter Gasket/Filter and the Top Gasket
I have starred the second bonding step because this bond did not hold. I believe that it is because the surface on the bottom gasket had already been exposed to UV ozone in step 1, which I then cured. I think if I had not cured at step 1, and instead waited to cure until step 2, the bond would have held. The jig worked nicely to allow for precise alignment of the layers.
You can see from the pictures that I scratched in an electrode design using a dremel (the wet etch was being uncooperative). The microscope slides thicknesses are much larger than the thickness of the stack, so in a future iteration, the stack will be extremely thin.
Things to improve in V2.4
– Fabricate Thin coverslip electrodes using URnano. The slides should be precisely cut to better match the gasket
– Make the insterstitial, electrode gaskets slightly wider than the design to allow for better seating of the elements into the gaskets
– Keep layers clean using silicone gasket backing to make jigs, keep surfaces adhered if not being bonded at that point.
– Make fluidic vias through the film stack larger to allow for alignment error.
– Determine whether PDMS is necessary to seal up the interstitial layer around the whole device, or just at the pertinent edges.
– The mousebite collapsed on one side, find a better way to keep the mousebite open. The good side was sufficient for access.