Makerbot2 printed Transwells for SEPCON chips
In Nottingham this summer, I attempted to use a Makerbot2 printer to create culture devices for SEPCON chips. I had varying degrees of success, but I was not able to get a good seal between the PLA and gaskets using only machined grooves. This would have limited our ability to do TEER and other 2-chamber tests. I made a 3d-printable Transwell model for our SEPCON chips, trying a different approach to make the transwell.
Here, I’ve made a basket that is very similar in dimension to to the transwell insert. I’ve attempted to use 0.5 mm design rules, as this seems to be the lower bound of independent features in my experience. 1.0 mm features will print fairly reliably. The gap separation between the basket and the insert is 0.2 mm. The line edge roughness is enough to cause tension on the inner face of the basket and outer face of the insert, so this method was promising for keeping a good seal on the device. However, repeated insertions/removals of the basket wore away much of this roughness, so it was not ideal for our purposes.


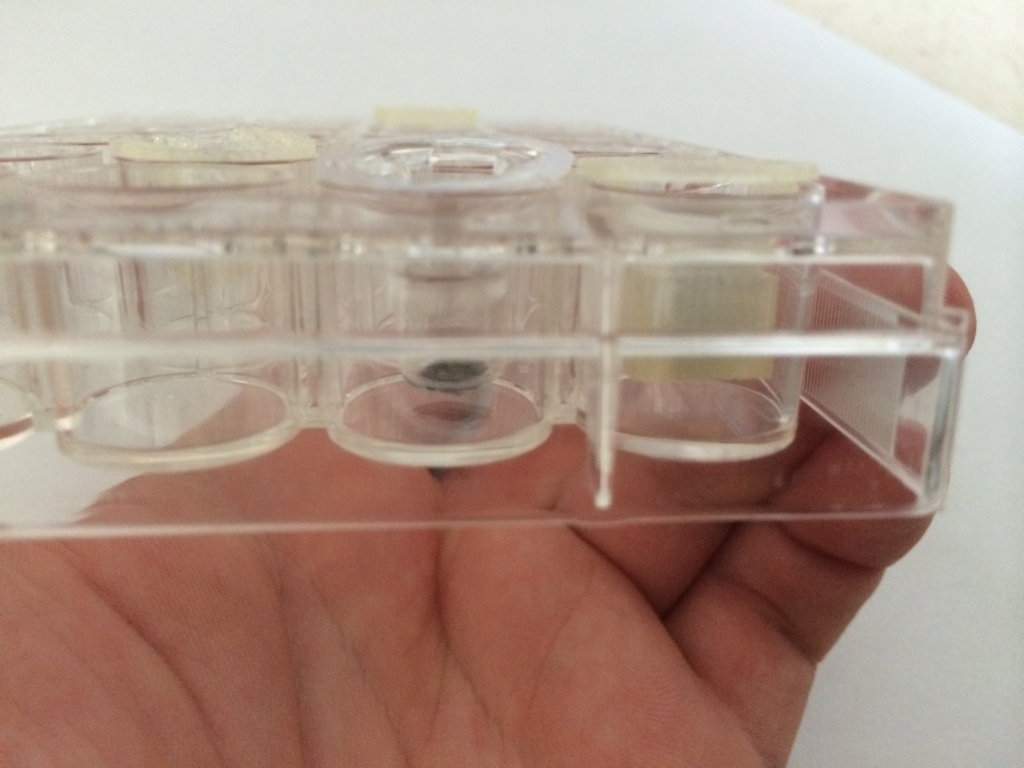
Noting a few flaws in the first attempt, I redesigned the transwell with a fork to pin the basket and insert at a set height relative to each other (600 microns). I lowered the height of the ring on top, to make the transwell sit flush in the 24 well plate. I also widened the bulk volume of the basket to accomodate the extra hole space.
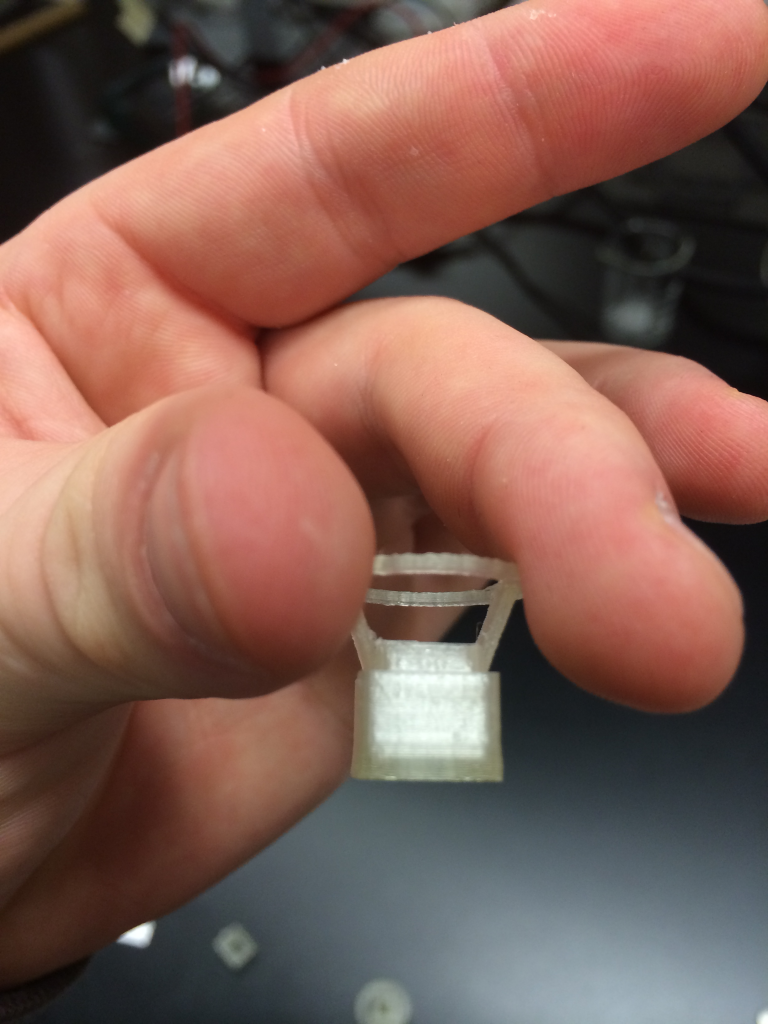
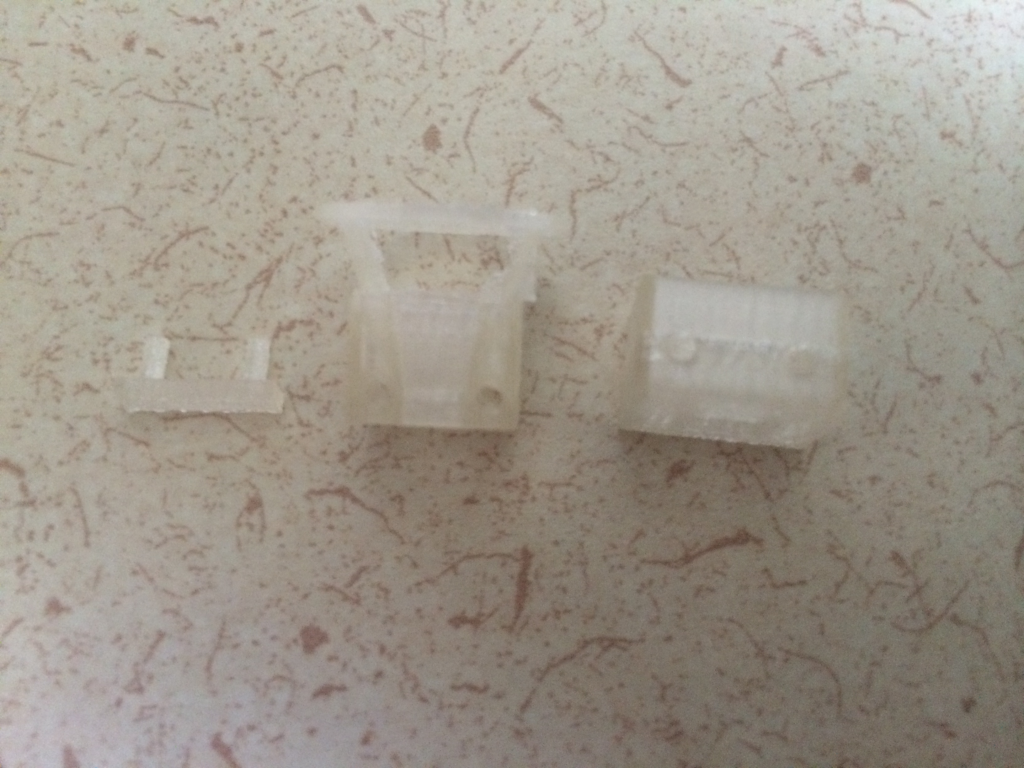
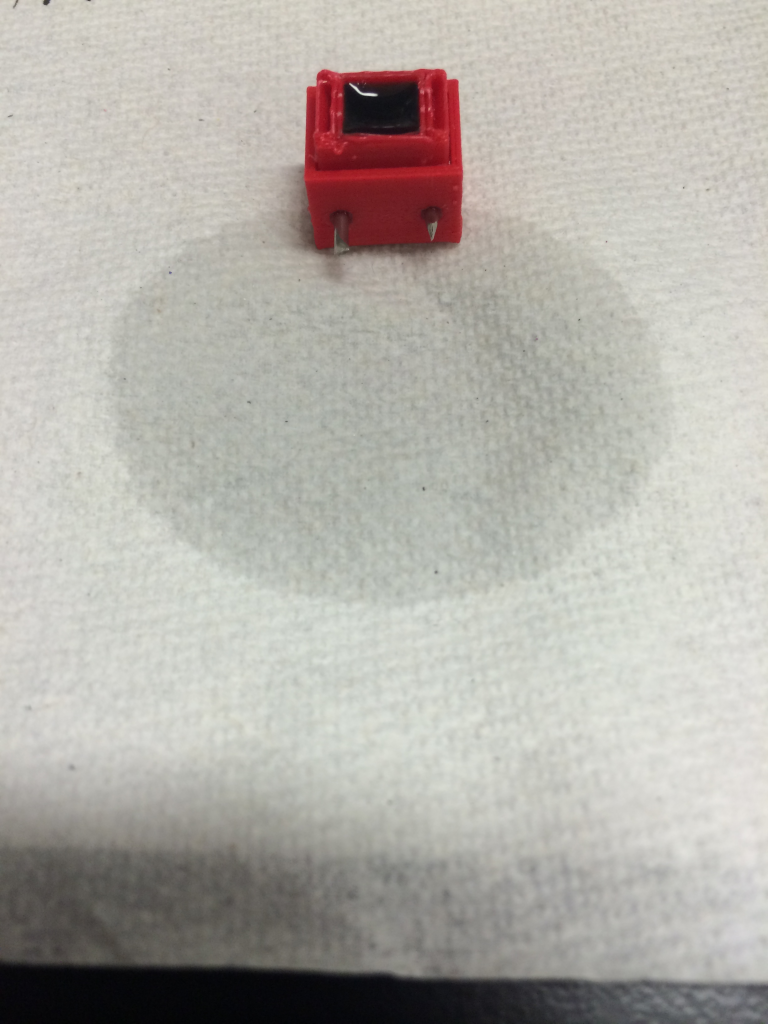
I printed the model using the Makerbot2 in Rettner hall, 230 C, 0.1 mm layer height, 15 % infill, high quality, Natural PLA, with a raft and scaffolding to support overhanging geometries. 3 (1 insert + basket + 2 fork) models were printed over the course of 1.5 hrs, with minor stoppages every 20 minutes to reload the filament (previously I had noted that the filament quality degrades over time, to compensate, I flush the nozzle with new material). After trimming the excess with a razor blade and sharp pointy tweezers:


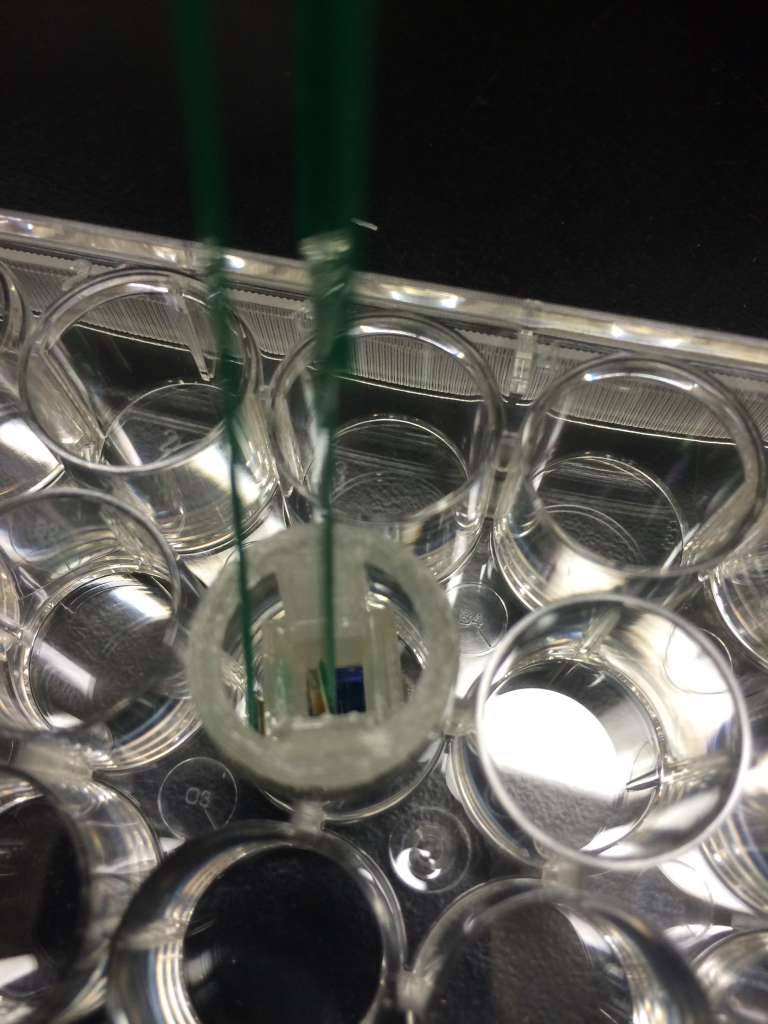
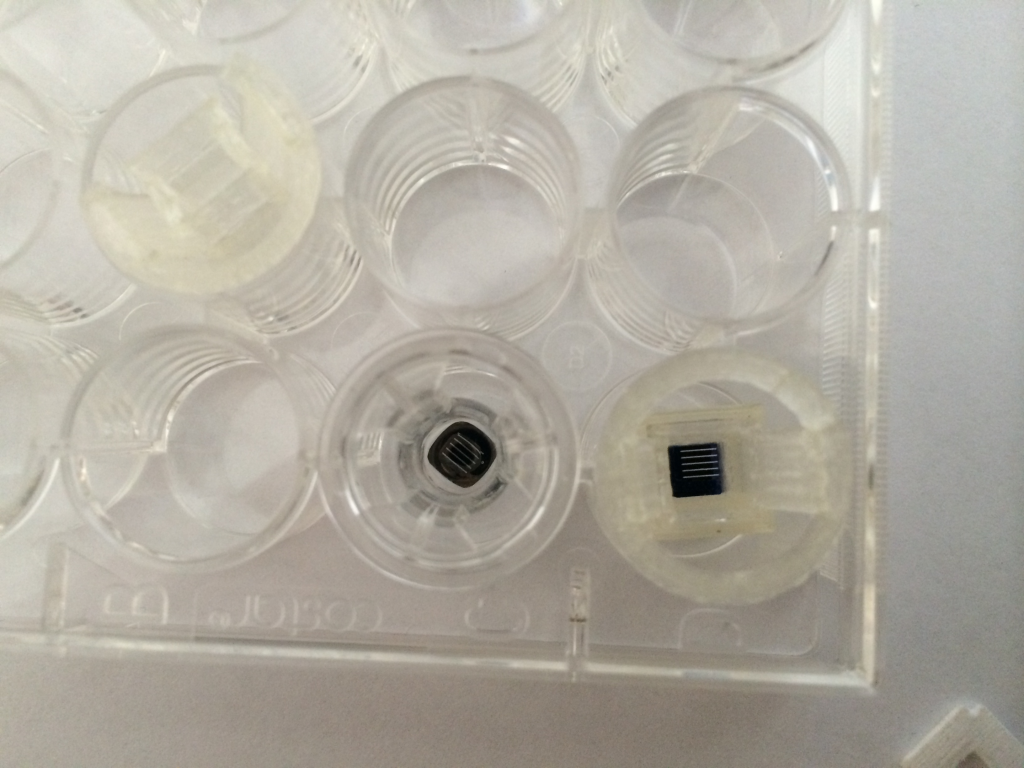
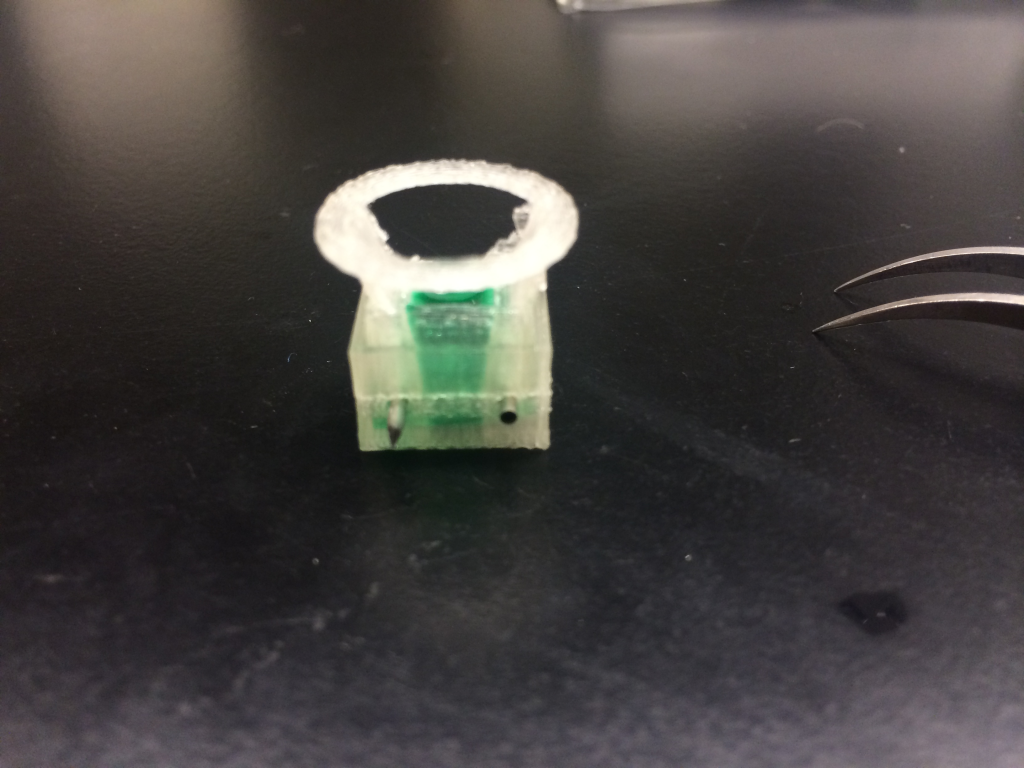
I can put a SEPCON under tension and remove it. We should be able to test the seal with a pair of chopstick electrodes (as designed) and with dye to see how it functions:

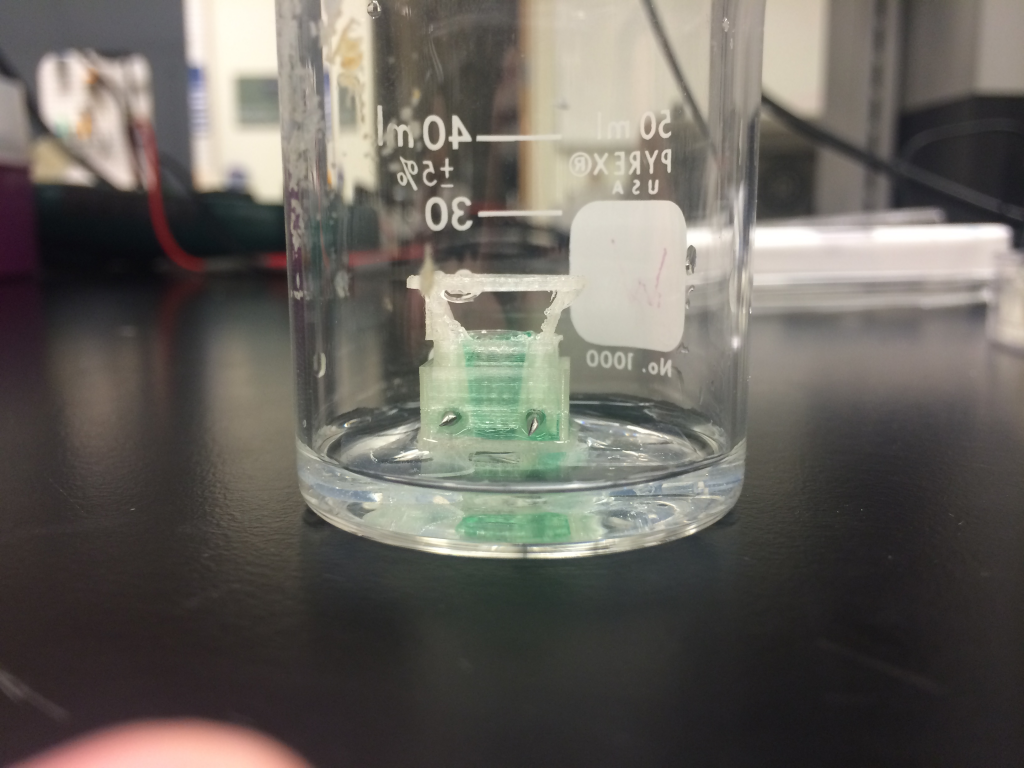
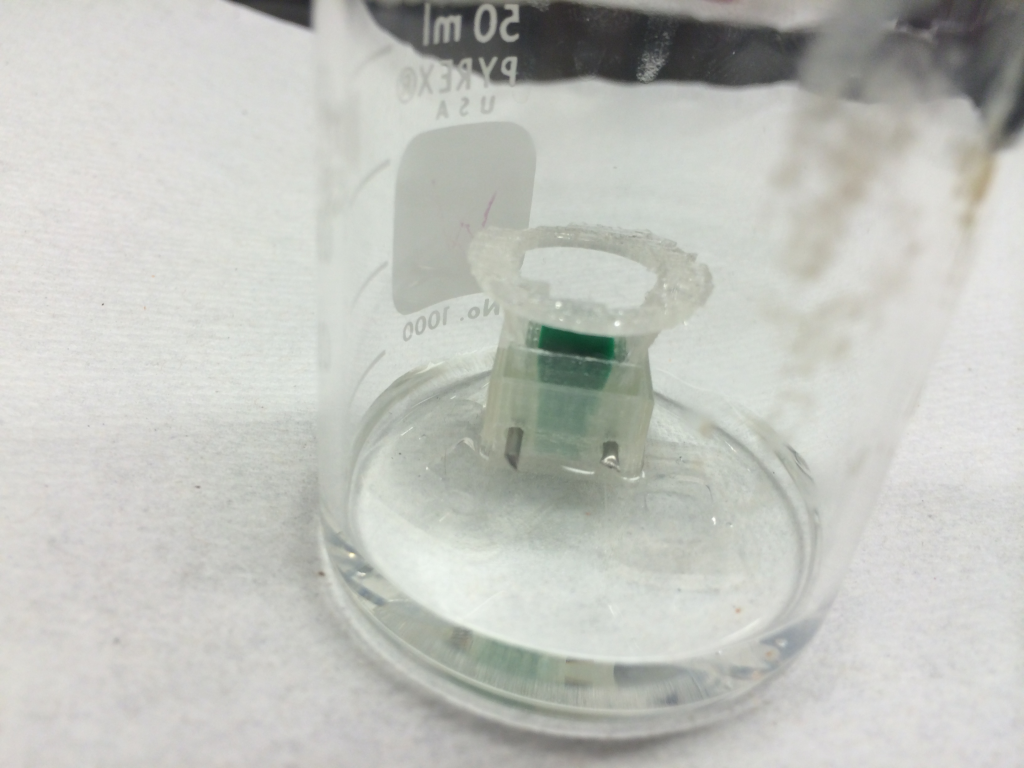
A distorted band of PLA plastic is clearly evident on the layers where the pinport interfaces are made. This probably was the source of the leak, as these layers have the tightest geometries to print within the layers. To try and combat this problem, I shifted to 100% infill PLA plastic, which should provide more interfaces to seal against internally. It is difficult to assess precisely where the fluid is going due to the translucent nature of the material; some reflections of the green liquid appear to be misleading. I also wanted to see if a different material would print better than the natural PLA, so I used Rettner’s supply of material to print out a duplicate.
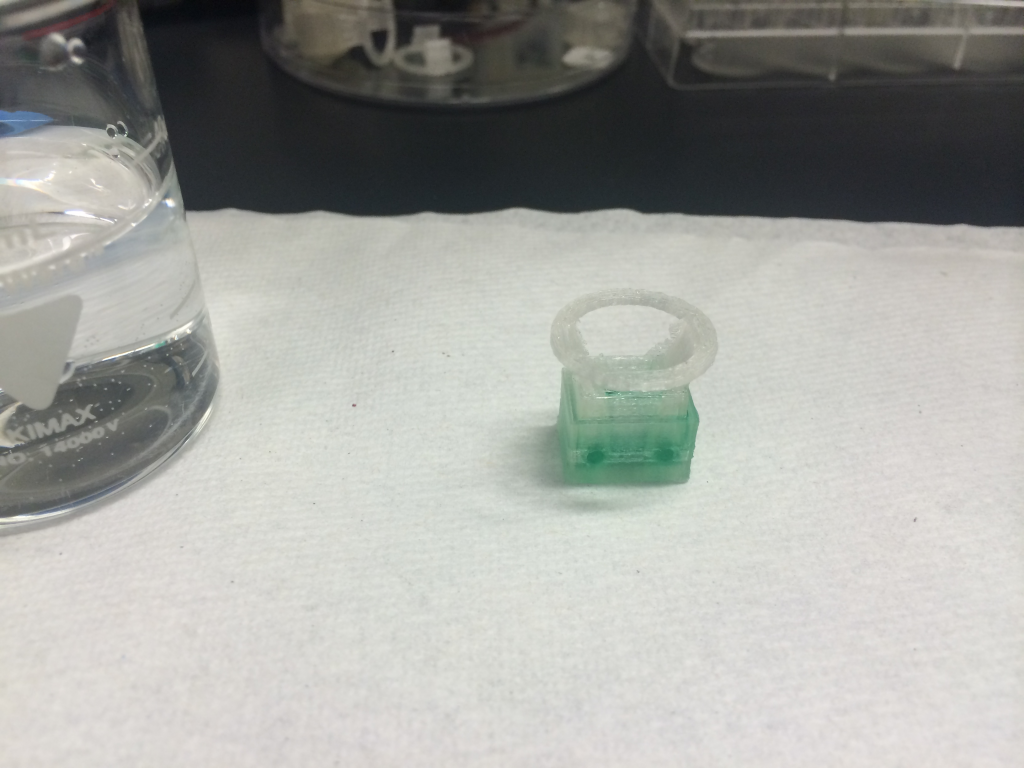
The end goal: