How to Upload a Blog Post
This post is to go over how to post a blog post. This post is written like a protocol, but you can do anything! It is meant to enable live data uploading and review by others.
Step 1: Log in to the nanomembranes.org website (or trace-bmps.org for TraCe users). If you are reading this blog post, you have already done this!
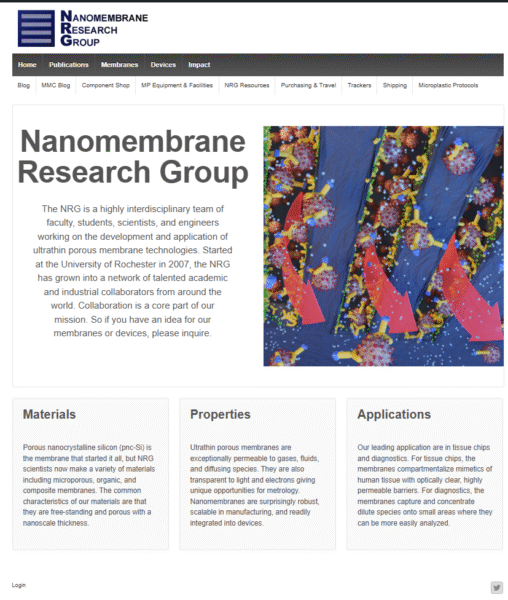
Figure 1: Login page.
Step 2: On the top left of the page, hover over the “Nanomembranes Research Group” (or Trace-bMPS” for TraCe users) text and click “Dashboard”.
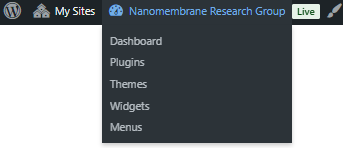
Figure 2: Getting to the dashboard.
Step 3: In the left-hand dashboard, hover over “Posts” and click on “Add Post”
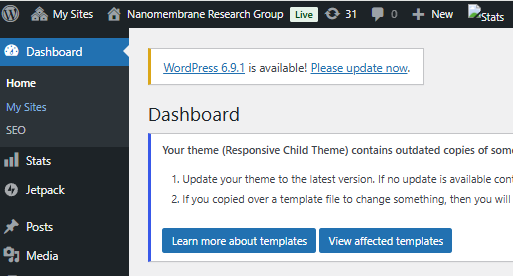
Figure 3: Getting to posts.
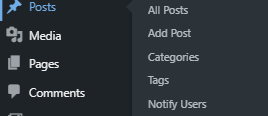
Figure 4: Add a post button
Step 4: Add your post title, edit the URL (optional), and begin writing your post in the editing menu.
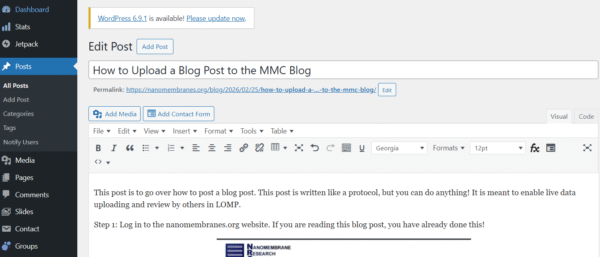
Figure 5: How to format a post.
Step 5: Find the “Categories” tab on the right side of the page and select the Categories that apply to your post. If nothing meets your needs, new categories can be added with authorization from the blog managers.
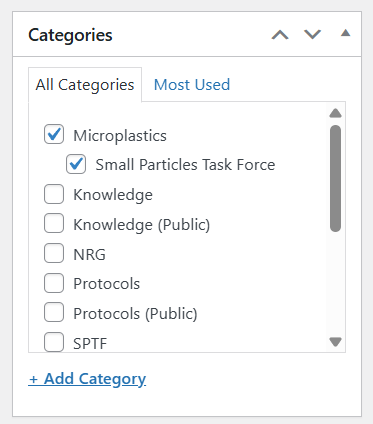
Figure 6: Categories for blog posts
Step 6: Now you have written, formatted, named, and categorized your blog. You are ready to publish! You can click on “Publish” to publish your post. You may also click “Publish to TRACE” or “Publish to NRG (depending on what site you are publishing from) if you wish to publish to the other site. If you dont want to publish just yet, but want to have someone still see your post, you can use the “Enable public preview” feature to get a custom link to the post. Enabling this does NOT make your post public to the masses; it just provides a link to share your post with someone (who must be logged into the website to view it).
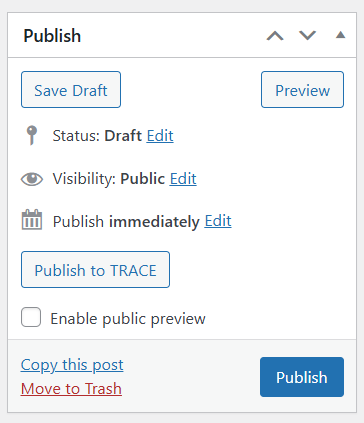
Figure 7: Publishing!