BBB Device 2.7 Fabrication with Mortar Bonding
Fabricate ITO Electrodes
- Deposit 2500 Angstroms, ITO, Room Temperature Using Kurt Lesker Sputterer (Use ITO Variable Recipe, takes about 1.5hr)
- Tape in Microscope Slides and Coverglass into Machined Shadow Mask using Kapton Tape
- Anneal in Toaster Oven, 450 Fahrenheit, 1hr
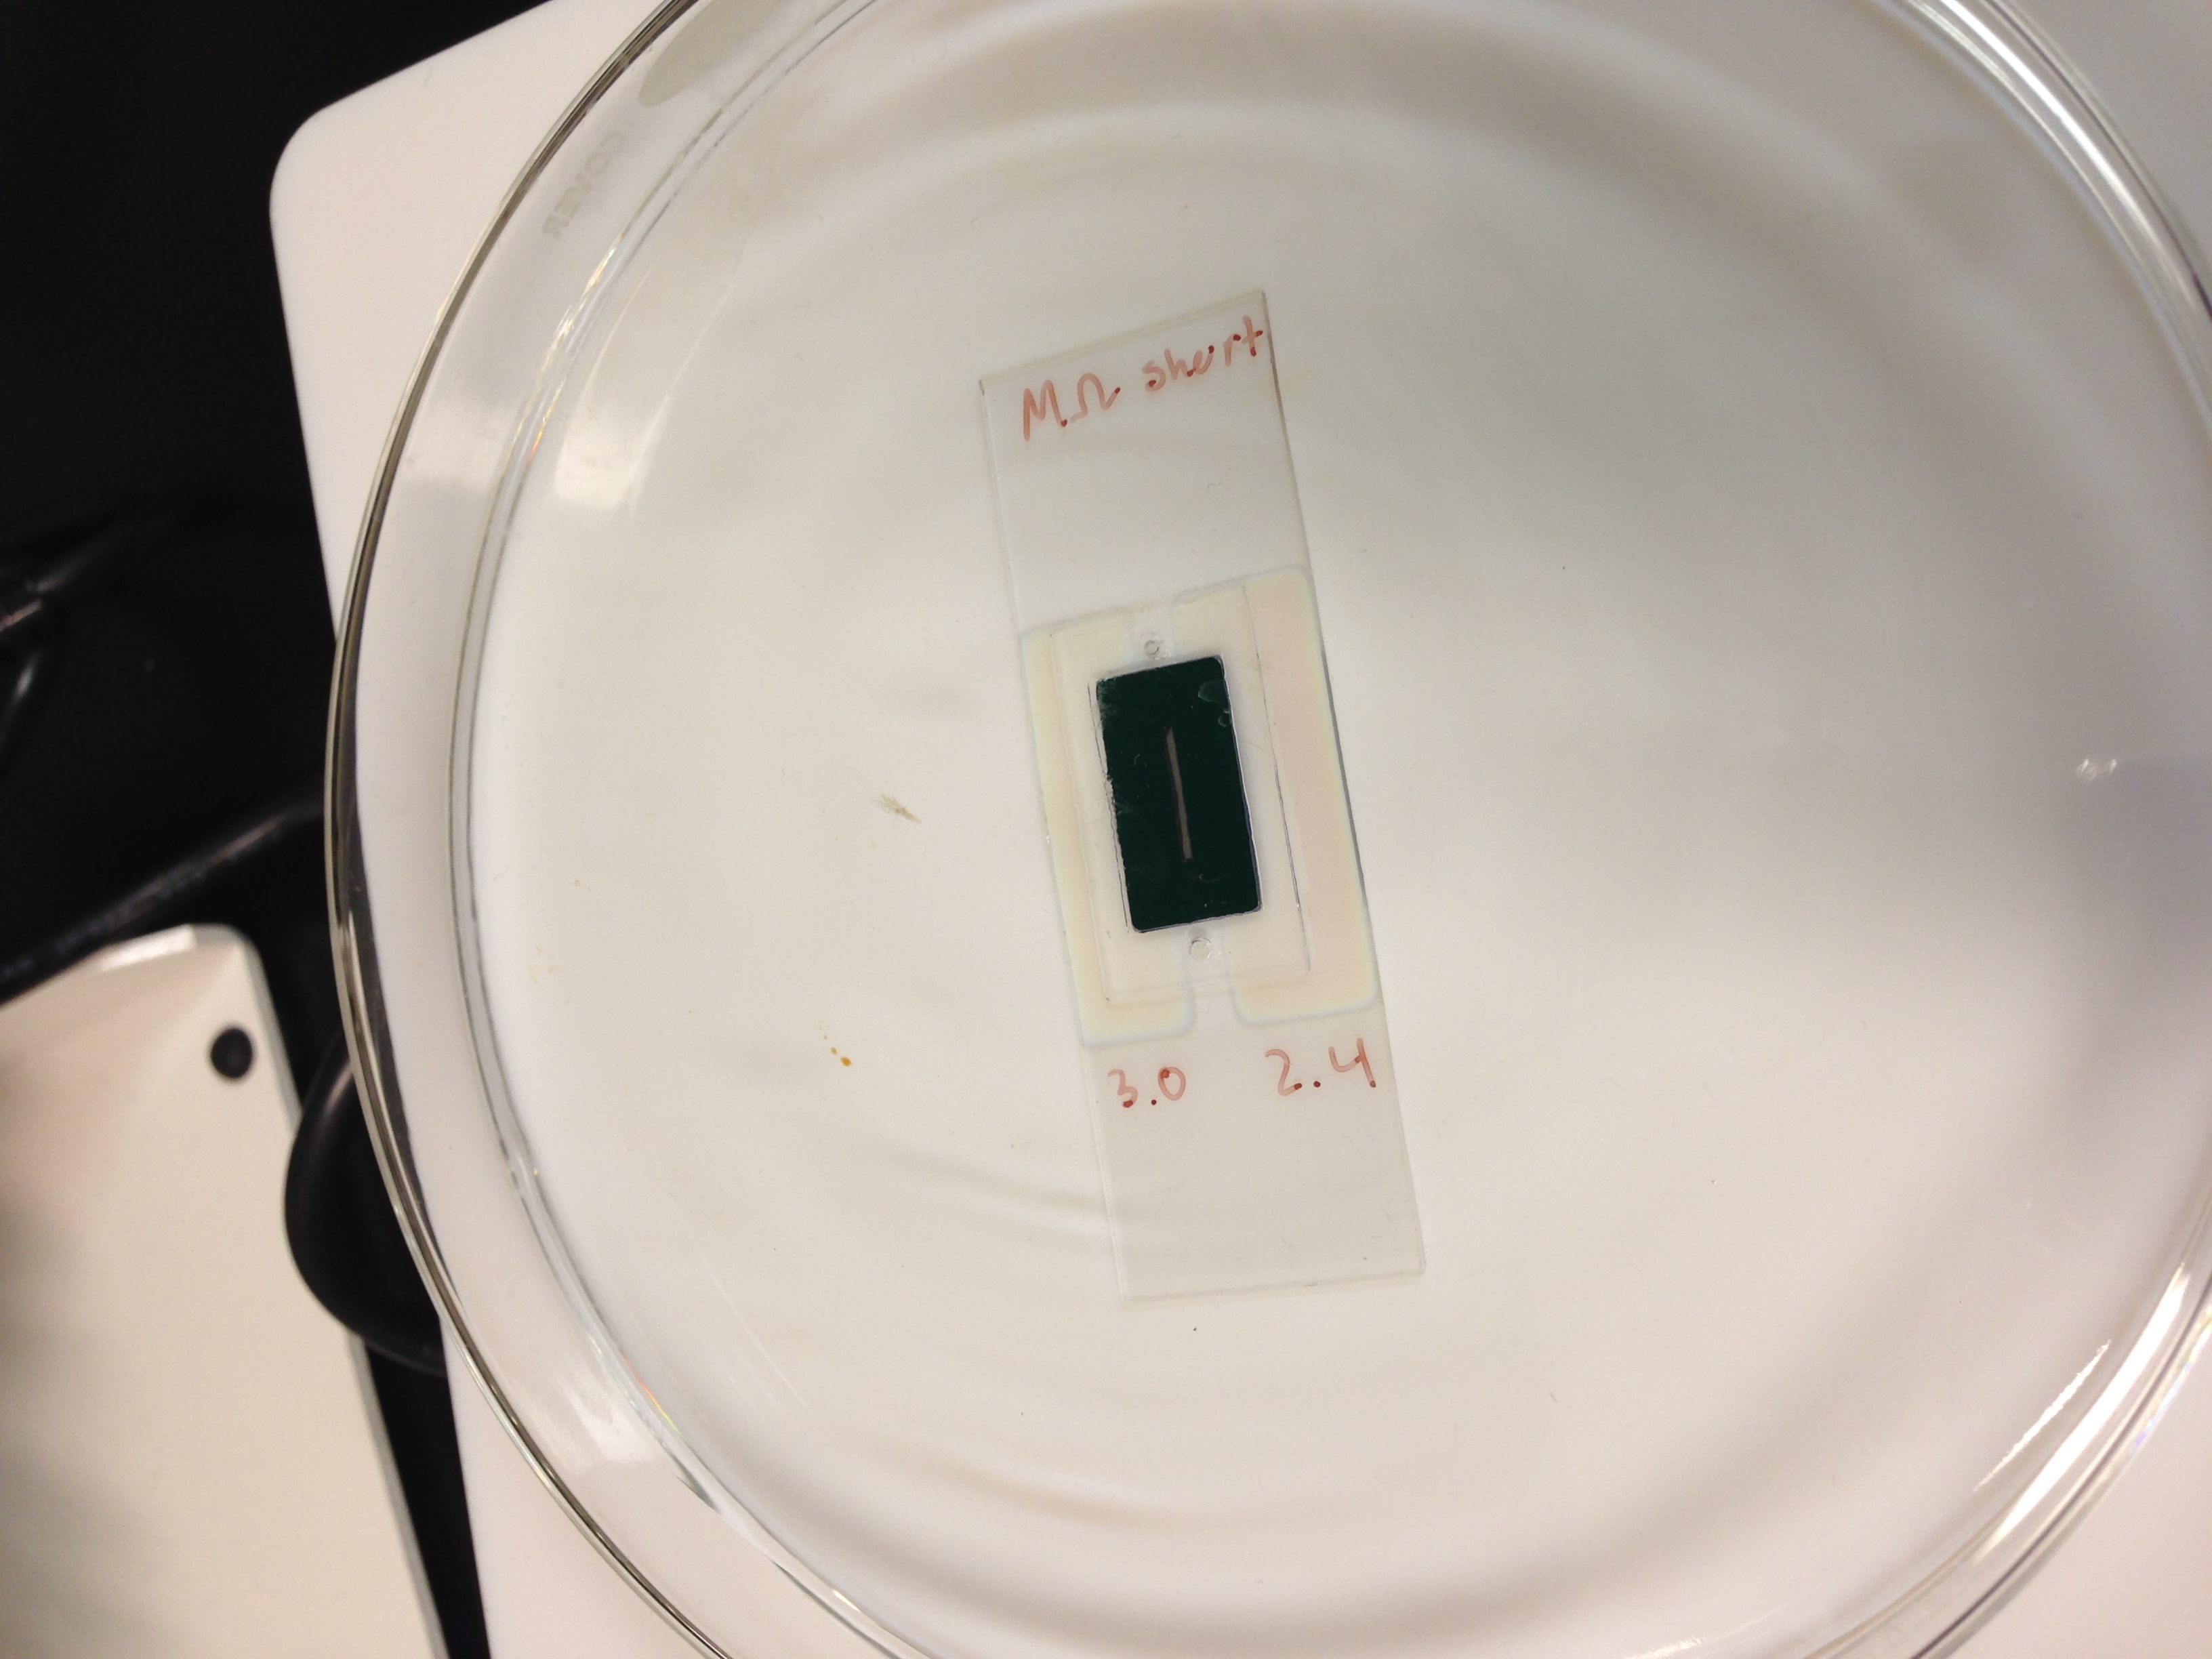
- Drops resistance from > 40 Megaohm to < 5 kohm. Measure from edge of Pad to Middle Finger
-
Hotplate Anneal Attempt of ITO Electrode (failed).
- Clean Slides with Alcohol
- Measure Resistance and record on side of slide. Check for Shorts across the pads
RTP pnc-Si filters
- Place susceptor and lid gently into RTP tool
- Run warm up recipe on the RTP
- Wait for the Oven to cool below 300 C
- Remove susceptor and lid, take off lid
- Place samples in susceptor, flat side up (blue), cover with lid
- Place susceptor and lid gently into the RTP tool
- Use the Simpore Post anneal recipe
- Wait for the Oven to cool below 300 C
- Remove Susceptor, take off lid
- Remove samples, place lid back on susceptor
- Wait for the oven to cool down to room temperature, then turn off tool
Design Gaskets
- Use adobe illustrator to draw your design, with the thinnest line width possible.
- When you are satisfied, save an adobe illustrator file (.ai)
- Once saved, use the export command to create a (.dxf) file. Use the default settings (make sure maximum editability is checked, and the 1 mm = 1 unit is accurate)
- Email the .dxf file to yourself, or sneakernet it downstairs to the windows pc of the McGrath Computational alcove
- Open Robomaster
- Drag and drop the .dxf file onto the Robomaster window. Open-> file will not work.
- The design will be offset, highlight all the components of your design and drag the design into the active area of the Robomaster window
- Export as a .GSD file
Fabricate Gaskets
- Use Silhouette Cutter in McGrath Computational alcove, preloaded with designed GSD File.
- Wear gloves to keep things more cleanly
- Place silicon sheet with coverplastic attached onto cutting mat.
- Align and load cutting mat into cutter by pressing “load cutting mat”
- If you choose “load media” your cuts will not line up with the grid in software.
- When you have positioned your design and are ready to cut, select “send to silhouette”
- Check the Custom Settings. For Silicone sheets with coverplastic (custom media), the general settings are Blade:5, Speed:25, Thickness:5, using cutting mat and double-cut
- Double check the height of the blade by removing it from the holder. If the height is wrong, adjust it using the ring on the base of the cutter, then reinstall the blade
- If you are unsure of your cut settings, a test cut can be performed. Use the software arrow keys to position the blade over a uncut area of silicone and press test cut. The test is successful if you can pick up the triangle without removing the square.
- Press Cut
- Eject the cutting mat by pressing enter
- Remove the cover plastic from the cut areas, then lift out your cut gaskets.
- Replace the coversheet on top of the cutting mat.
Device Assembly
- Prepare a 10:1 PDMS to Curing Agent mixture (2g is plenty)
- Outgas for 20 minutes in vacuum can
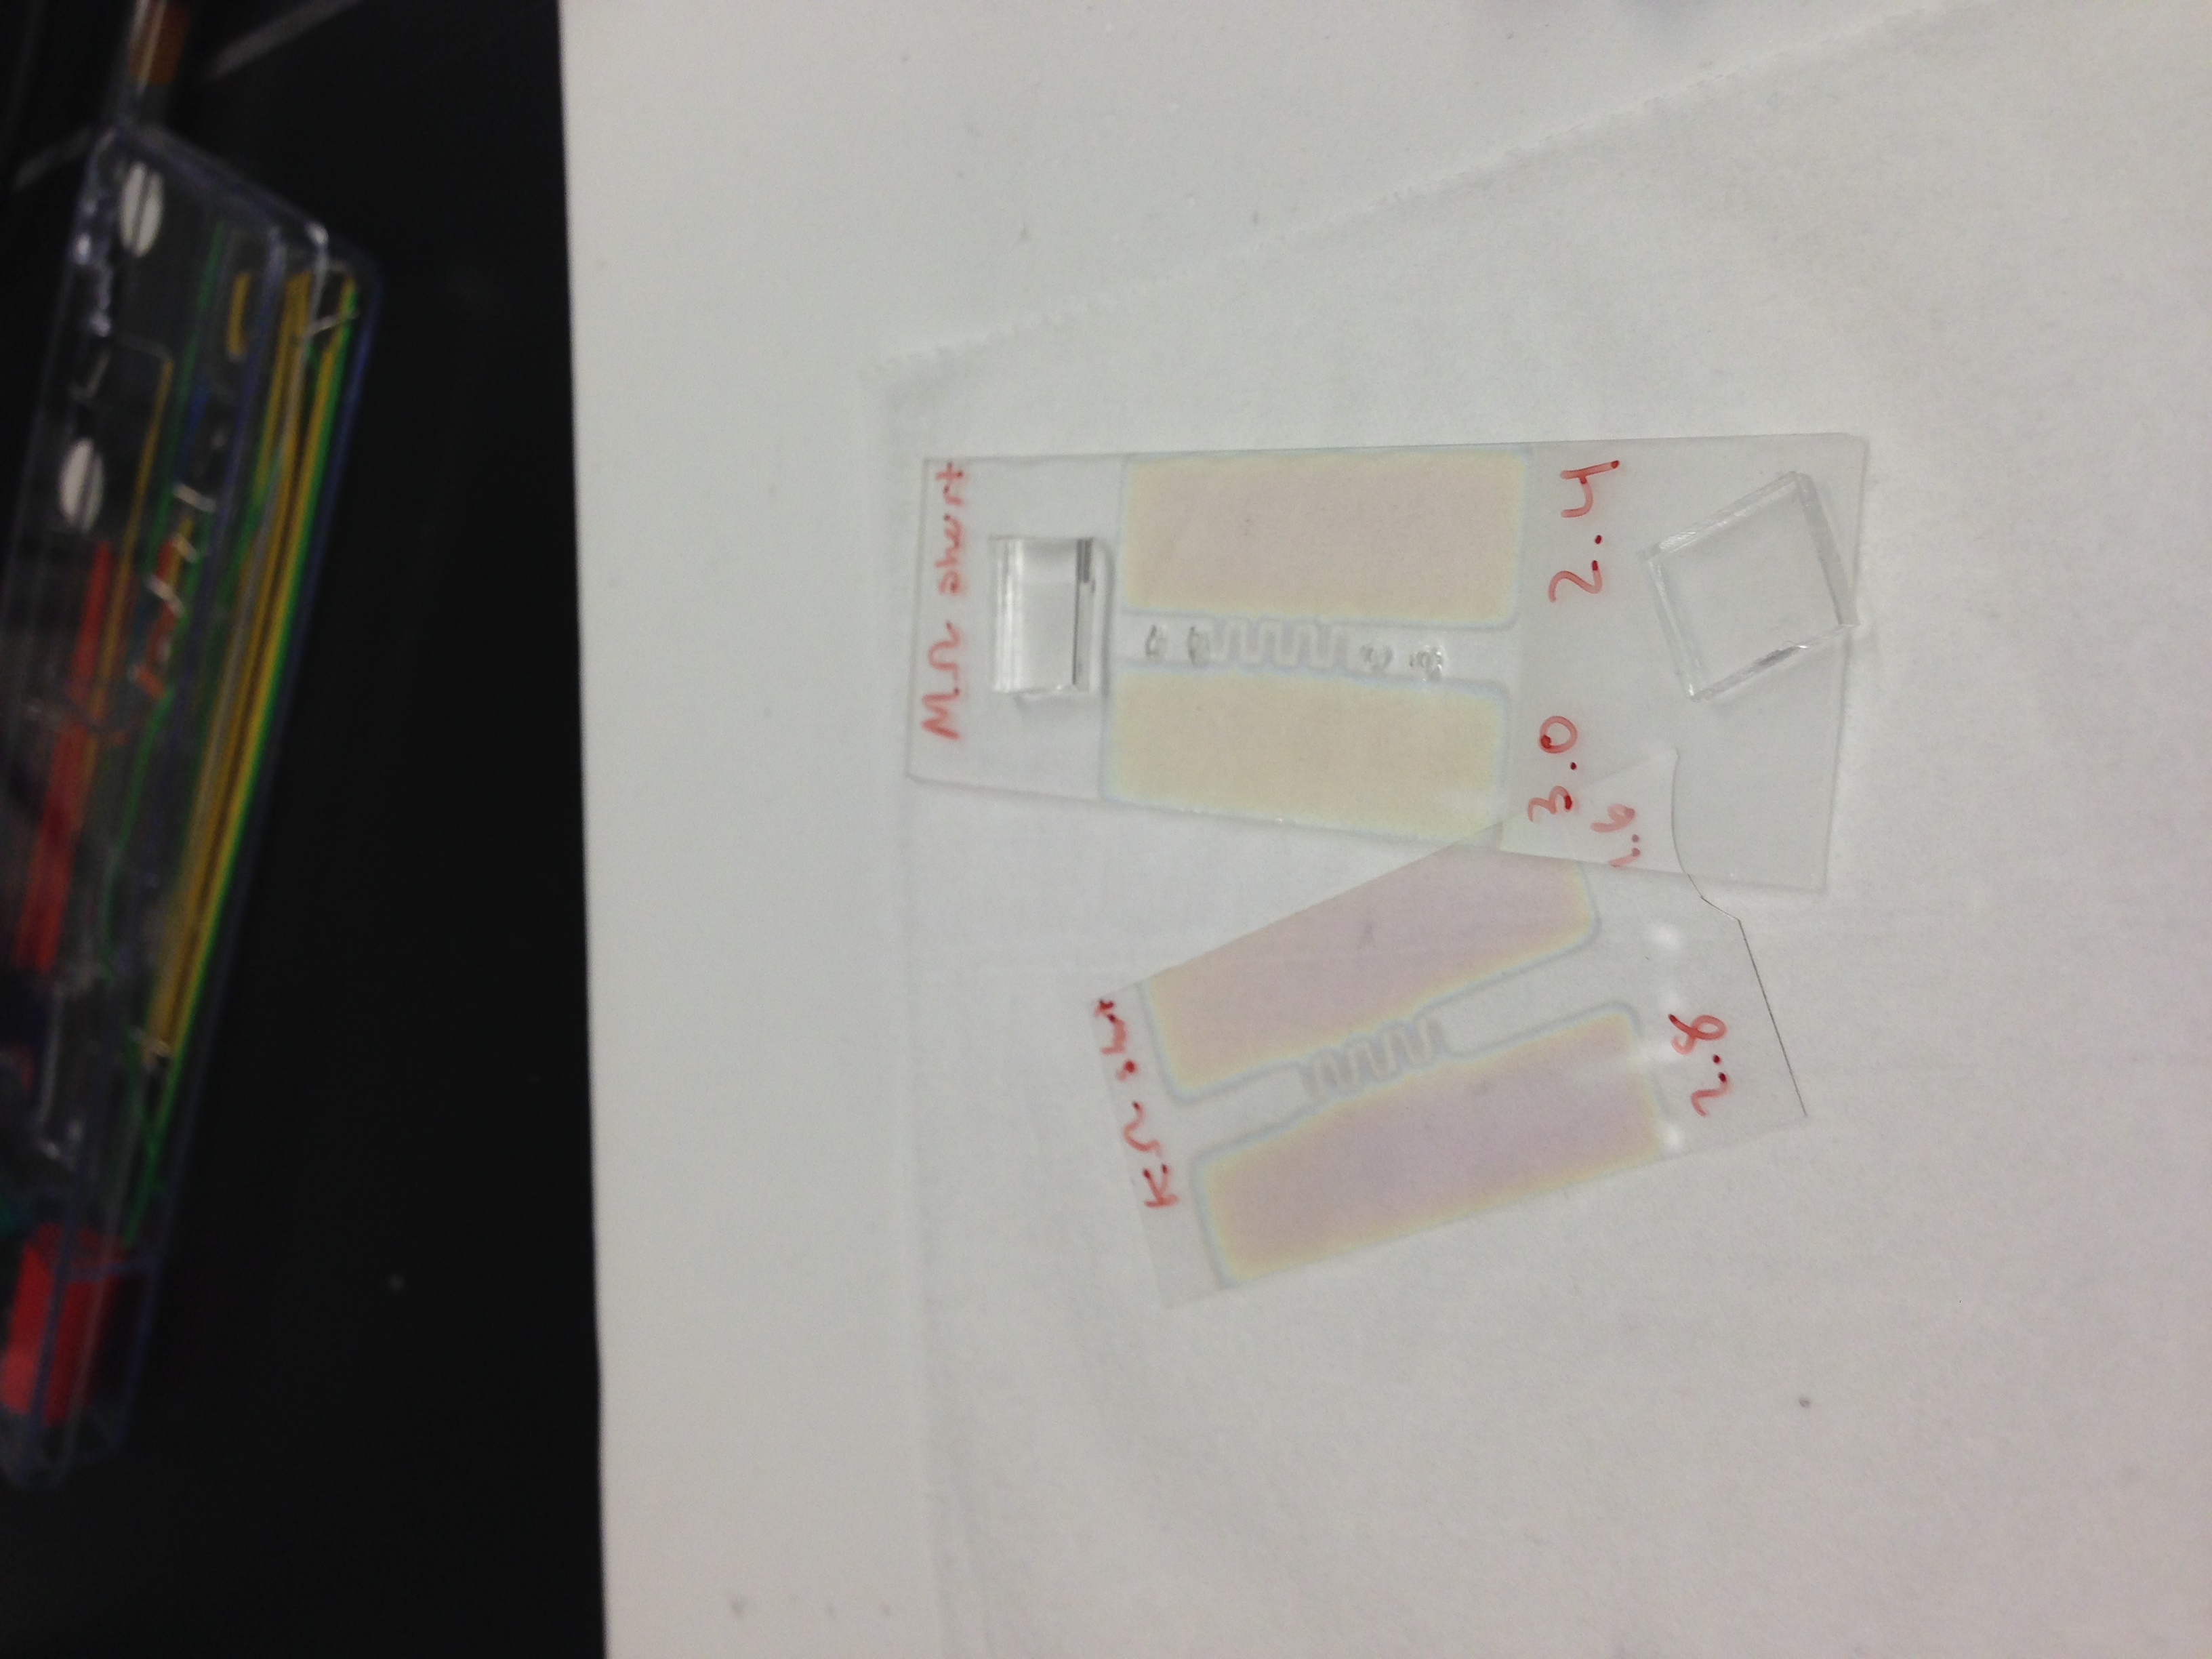
- Mortar bond Channel gaskets to Electrodes
- Take Top gasket and mortar bond by gently rubbing a light coat of PDMS using green applicator onto bonding surface, then join to top electrode (slide with holes), where the electrode surface and the PDMS coated surface are joined. Line up Outer holes with top gasket ports. Gently massage out air bubbles.
- Take Bottom gasket and mortar bond by gently rubbing a light coat of PDMS using green applicator onto bonding surface, then join to bottom electrode (thin coverglass) where the electrode surface and the PDMS coated surface are joined. Center gasket onto electrode pattern. Gently massage out air bubbles.
- If we can get access to a spin coater, the manual application could be refined to a “stamp and stick method”
- Outgas both substrates for 5 minutes in vacuum can
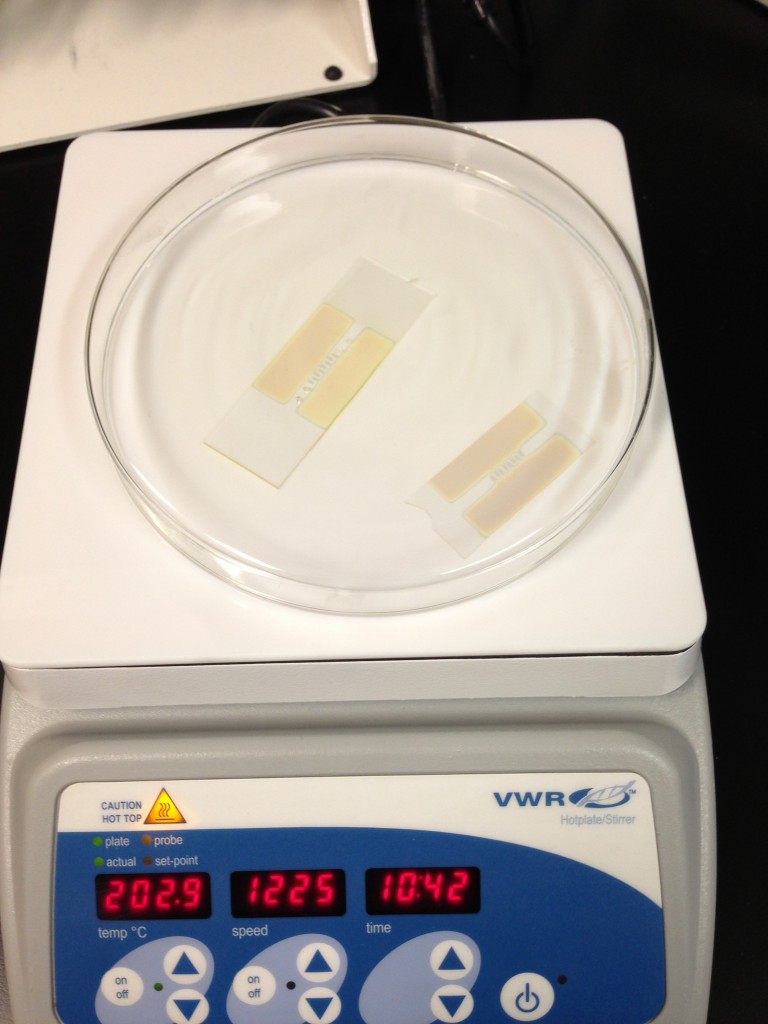
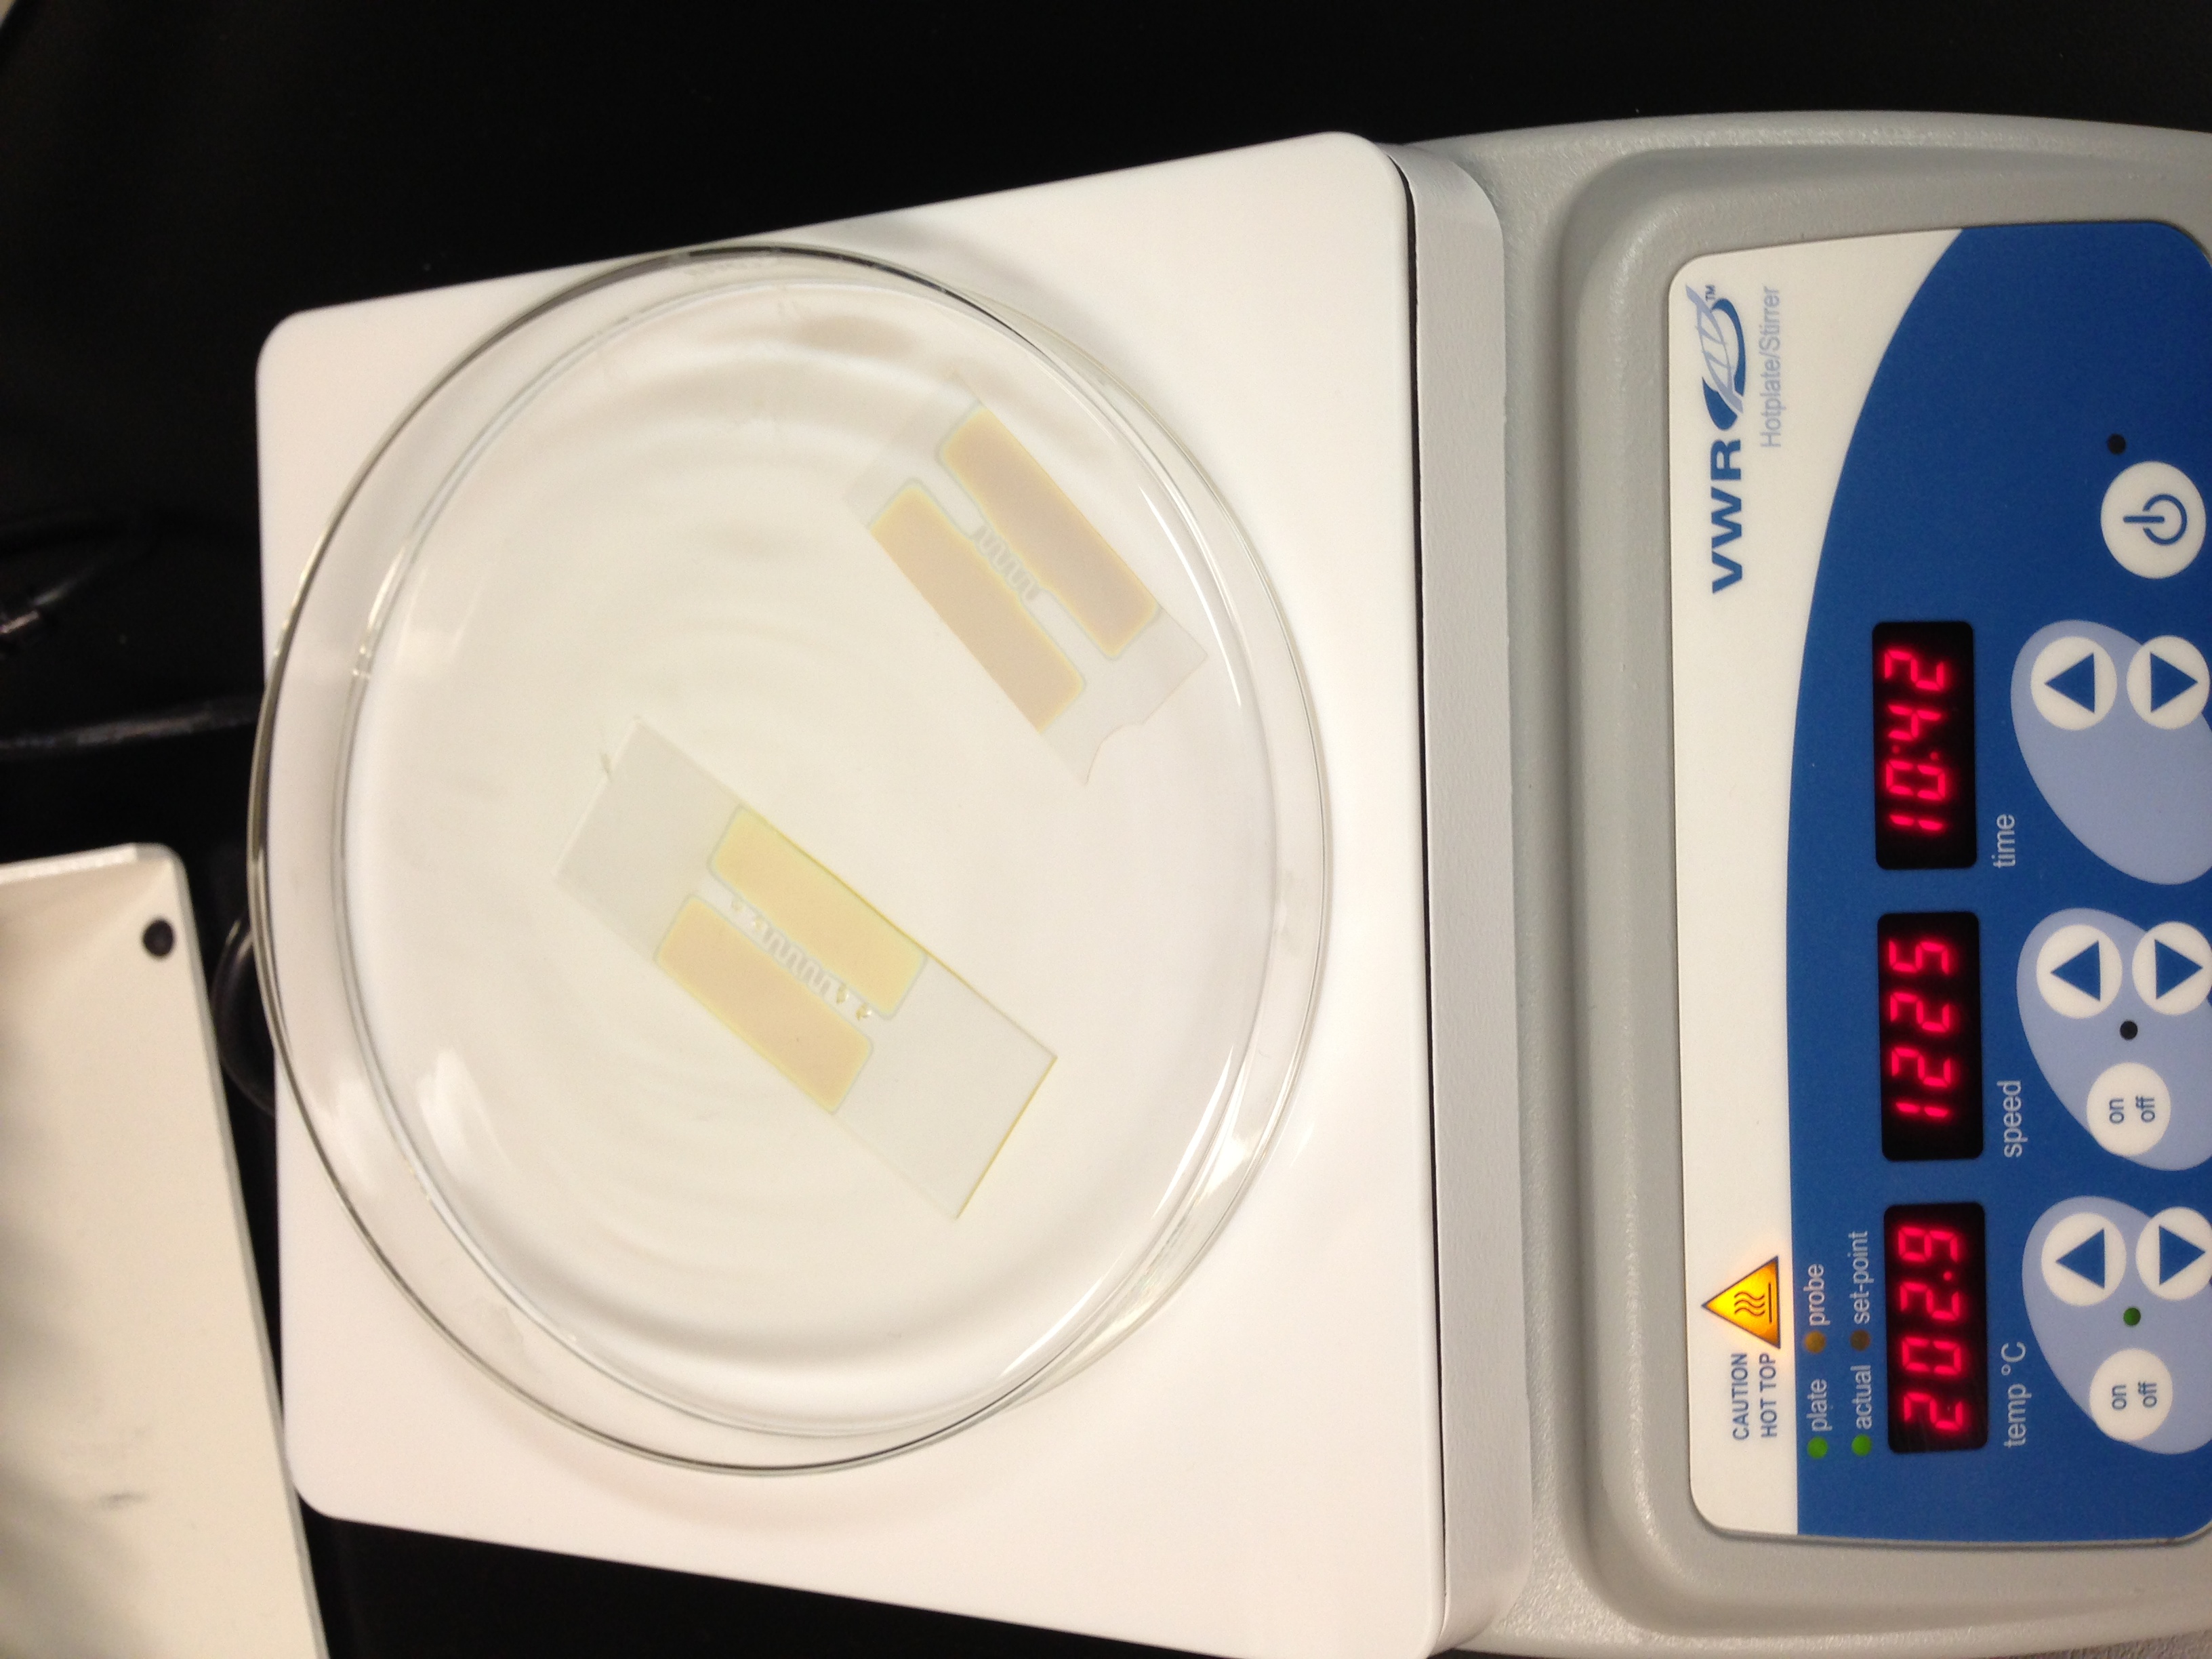
- Cure PDMS with hotplate, 150 C for 10 minutes. Use glass cover over samples
- Mortar bond Interstitial Gasket
- Take Interstitial gasket and mortar bond by gently rubbing a light coat of PDMS using green applicator onto bonding surface, then join to top gasket stack, where the uncoated top gasket and the PDMS coated interstitial gasket surface are joined. Line up ports with top gasket ports. Gently massage out air bubbles.
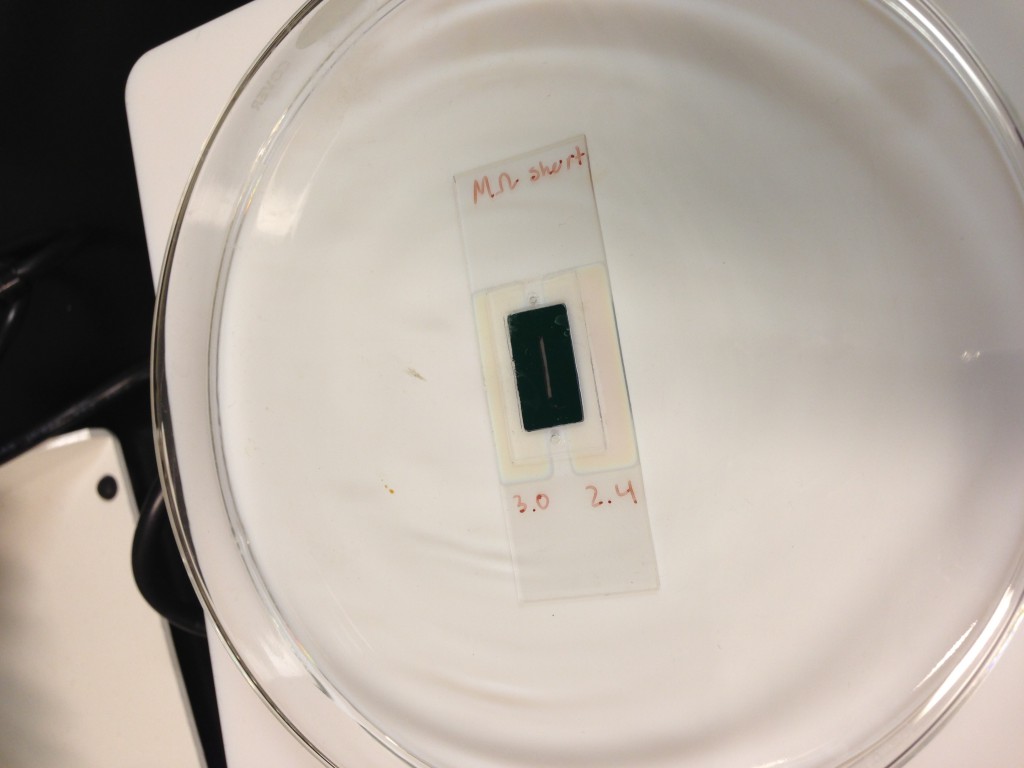
- Mortar bond Filter
- Mortar bond by gently rubbing a light coat of PDMS using green applicator onto exposed top surface gasket, taking care not to get PDMS into the channel, then join to filter (blue side down, green side up), where the uncoated blue filter surface and the PDMS coated top gasket surface are joined. Center filter in area, making sure top ports are occluded and the filter channel lines up with the gasket channel. Press down gently.
- Outgas in vacuum can for 5-10 minutes (more because harder to massage out air bubbles)
- Cure PDMS with hotplate, 150 C for 10 minutes. Use glass cover over samples.
- Fill in Filter/Interstitial gasket gap with PDMS using thin pipette tip
- Take a small pipette tip and get a small drop of pdms on it. Rub all edges of the filter, returning to get a new drop periodically, filling up the slot. Some may spill out over the sides; be as cleanly as possible. Spread out run off onto gasket, not the filter .
- Outgas in vacuum can for 5-10 minutes (more because harder to massage out air bubbles)
- Cure PDMS with hotplate, 150 C for 10 minutes. Use glass cover over samples.
-
Filter and interstitial cure
-
- Mortar bond stack to bottom gasket/electrode.
- NO OUTGASSING!!! WILL DRAW PDMS INTO CHANNEL
- Cure PDMS with hotplate, 150 C for 10 minutes. Use glass cover over samples.
- Clean exposed glass surface with alcohol wipe.
- Use ozone bonding (15 minutes) to join PDMS feet (pre drilled holes) to microscope slide.
- Bake on hotplate 150C for 10 minutes to finish fabrication
Hey Greg, Thanks for the very detailed instructions!
I wanted to comment that the RTP should not be turned off until it has reached room temperature. Turning off the tool also turns off the cooling water and could lead to problems.
Fixed. Good Catch!