Electrode Embedding Part 2
Because of the failure of bonding the electrode to the top gasket in my last design, I have been trying to make improvements to my fabrication to make the electrode/gasket surface more planar.
Things I have tried:
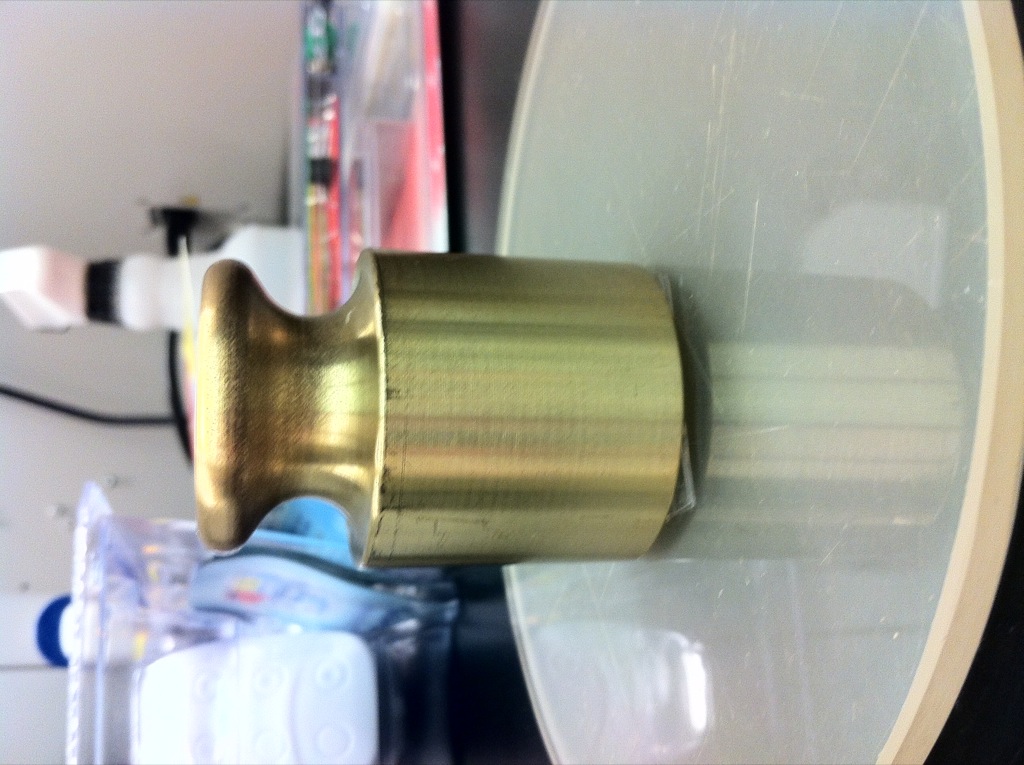
1. Pressure during curing. I placed a 500g weight on top of a microscope slide on top of the contact area when using UV ozone to bond the electrode and channel gaskets.
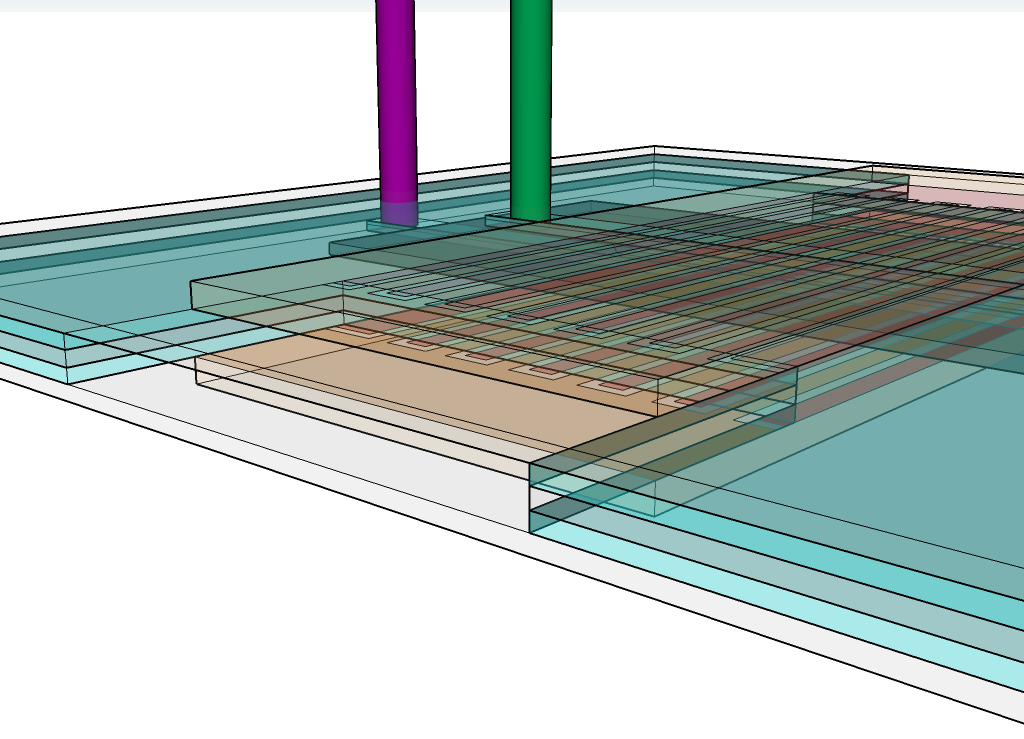
2. “Flip Chip Bonding”. I filled the electrode gasket hole with pdms and then placed the electrode on top of the pdms. This seems to prevent the wetting behavior compared to when placed face down. I first coat the edges of the gasket with PDMS using a pipette tip. I draw lines in the liquid polymer to make sure the entire substrate surface is covered. Letting it sit for a minute or so seems to even out the liquid level across the cavity. I then place the electrode gasket on top of the liquid, aligning one edge, and then dropping the bulk down, keeping air pockets from forming.

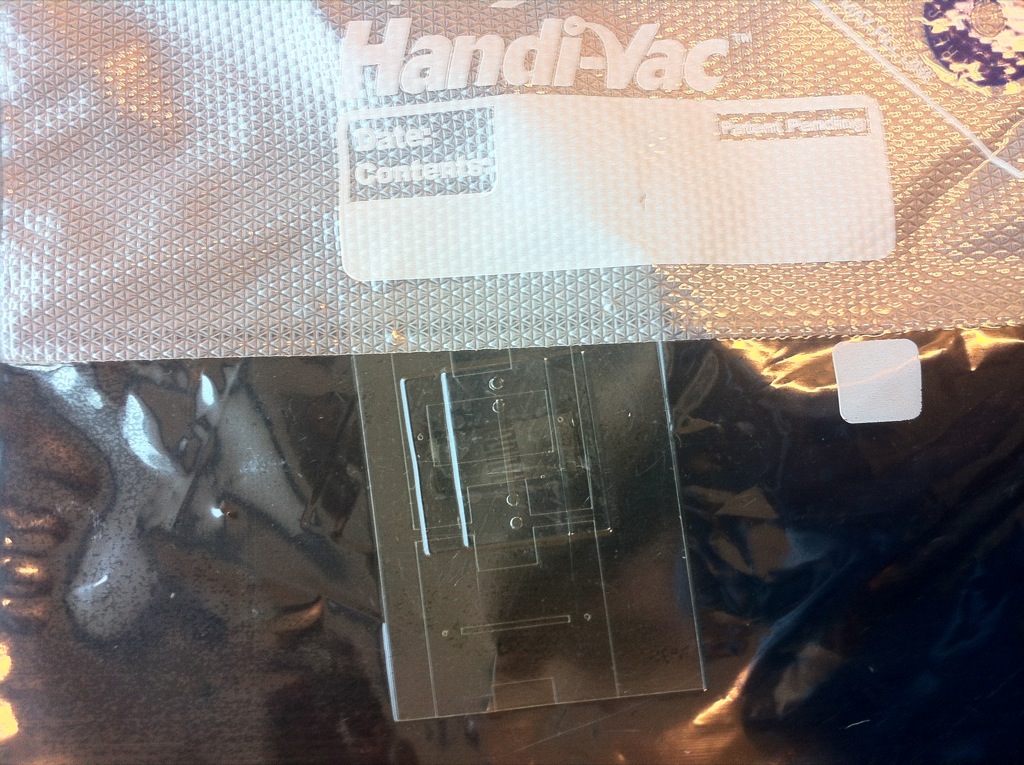
3.Vacuum sealing. I used a vacuum packer normally used for processing food to suck out all the air in a bag, shrink wrapping the ozone-exposed layers together. This seems to work really well! However, it makes removing the device from the backing plastic extremely difficult as it facilitates the curing process by bringing ozone-exposed layers in contact with the substrate surface.
Results
1. Placing the 500g weight on the contact area was not enough to bond the electrode completely down, though it did improve the amount of area in contact.
2. This method keeps the glass free of the PDMS sheeting, but it wasn’t enough to completely bond the electrode down (it’s still not quite planar enough).
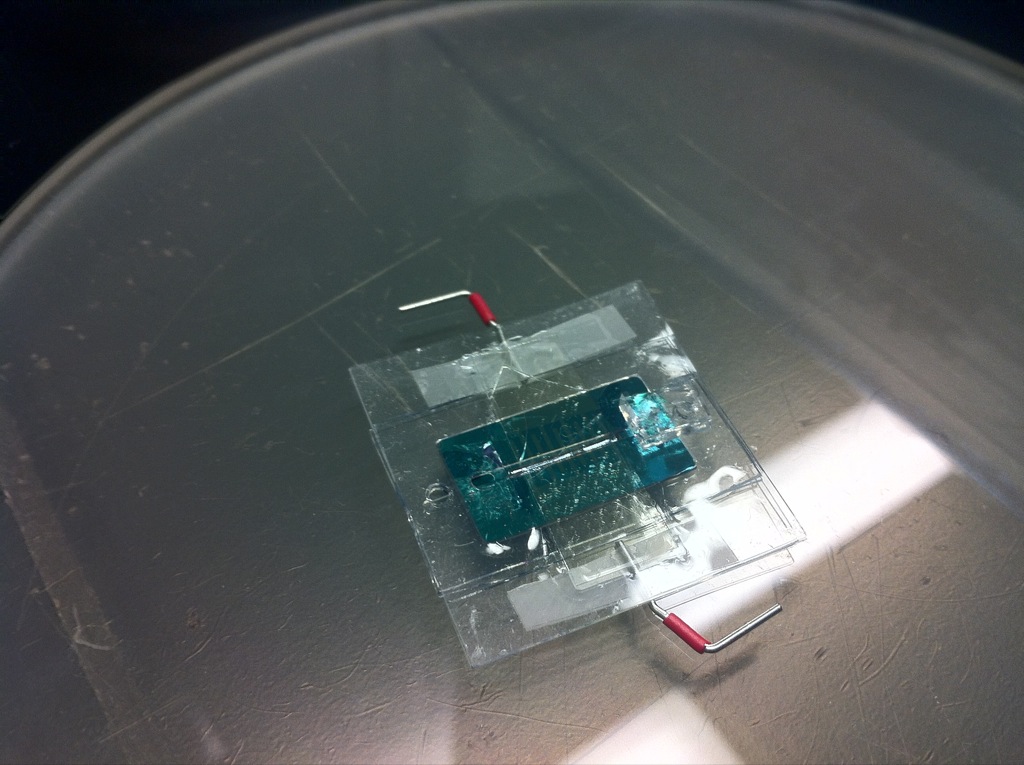
3. In this case, I bonded the electrode onto the top gasket and then I used a PDMS sheet to see what level of bonding I could get on the edges. The shrinkwrapping worked really well, providing a lot of force on the edges, but it was not fluid-tight (it could not overcome the tension imposed by the silicone on top of the electrode. When I tried the method with a flip-chip electrode, I did not observe any vacuum pockets around edges or on the bonding surface itself, so this method is very promising. I still have to run fluid through it. There is a caveat when bonding two overhanging electrodes; if the pressure is too high it will cause the top electrodes to bend and snap, making the device electrically useless. If I return to a mousebite design, the additional area will prevent the silicone from sagging down, which caused the electrodes to snap.
What I’ve Learned
I’ve also tried to use my electrode clips to directly contact the electrode wings. Unfortunately, the clips are too strong and moving the wrong way will fracture the device, invalidating the entire electrode, making the device useless electrically. I will have to use wires and tape them to the active areas in the wings.
Ultimately, I want to shift to a process where there is no need to embed the electrodes at all. This could be facilitated by making the coverslip the top layer. If I were to do it this way, the airgap issues I have been having would cease to be a problem, but I would need some way to drill holes in a coverslip without breaking it (4 holes).