Electrolysis through TEM Chips
Continuing the project that Mark had been working on, I have made some progress towards electroosmosis. Specifically, I was able to observe electrolysis through an intact membrane. Hopefully I will be able to observe electroosmosis through the movement of microspheres or nanoparticles through the capillary tubes.
I tried a few variations of Mark’s design using the UV glue but with no success. The main problem with that method was that it was impossible to pre-wet the membrane since the UV light would dry it out. As a result, small air bubbles were forming near the membrane preventing it from wetting or allowing current to flow through. Instead, I made a design out of PDMS that has led to some success.
To make the degassed PDMS device, I started by cutting off the tops of two 15mL centrifuge tubes since the tops of them were machined flat. This approach was suggested by Jess and worked for her as well. I placed the two pieces on top of glass and sealed the edges with vacuum grease to prevent the PDMS from leaking out the bottom. Inside one of the pieces, I placed a TEM chip with a broken membrane and a thin layer of vacuum grease on the bottom to stick it to the glass. This was to create a chip-sized groove in the PDMS for later use. On the top of the chip, I put a glob of grease to create a small reservoir. This was so the capillary tube did not have to come in direct contact with the chip. For the other piece, I placed a small glob of vacuum grease without a chip. Again, to make sure that the pipette did not touch the chip. I let the PDMS set in a toaster oven set at 200 degrees Farenheit for an hour.
There is no heat or other bonding agent required. After holding the two pieces firmly together for about half a minute, the two halves adhere to each other. Henry tells me that this is through conformational bonding. I don’t really know how it works, only that it does work. The key, I’ve found, is to make sure that the surfaces are dry. It is much more difficult if the surfaces are wet. The pieces stick together fairly well and will hold up to a bit of light shaking. Right now, I am holding them together when I put electrodes on them because the wires hooked up to the power supply are putting some stress on the device. I am going to try to find some other non-permanent way of putting it together that is a little stronger.
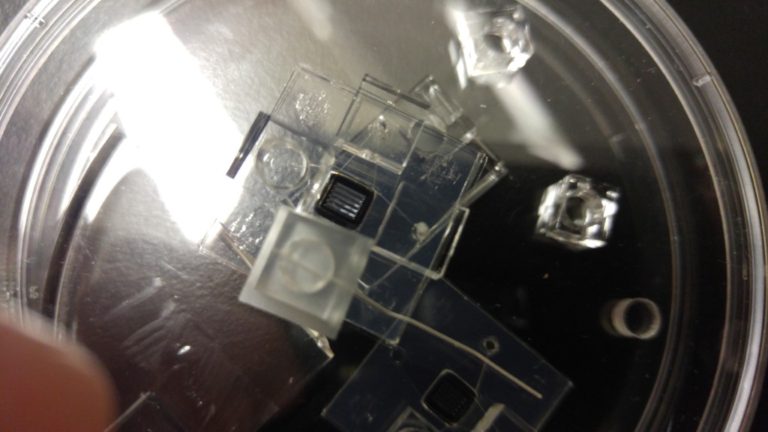
Here are some pictures of the PDMS device:


The device was, at first, still causing problems. There were still air bubbles forming. To remedy this, I used a 20 gauge needle to carve out a small channel leading from the reservoir near the chip out the side of the PDMS to allow air to escape. You can see that here:

This whole setup is still tricky to use. First you need to make sure that the capillary tubes are dry. Then you need to wet each side of the membrane and place it in the device. Put the device together slowly, making sure the channels don’t overlap. Then, slowly fill each capillary tube with your solution (I was using 0.1M KCl) using a syringe and 20 gauge needle. Now the hard part. If there are air bubbles in the capillary tube, you need to push your solution through the tube VERY slowly through the syringe. The liquid pushes the air bubble towards the chip and out the reservoir. You are now ready to put your electrodes in each capillary tube. This is as far as I’ve gone. I observed electrolysis occurring in my capillary tubes. Tomorrow I hope to check for electrosmosis.
Here is a picture of everything I use to put the device together and fill it:
Excellent first post!